
Engine Valve Adjustment Notice: RPS Hawk 250, Bashan Brozz 250, CSC TT250, and TaoTao TBR7:
These valve adjustment steps should apply to most Chinese “250” Dual-sport motorcycle engines (“Chonda’s”), based on the Honda CG-125 design(yes, over-bored to 229cc’s in the Chonda’s) These Chonda bikes are the RPS Hawk 250’s, CSC TT250’s, Bashan Brozz 250, and my motorcycle, the TaoTao TBR7.
When Should You Adjust Your TBR7/Hawk 250’s Valves?
Right out of the box! Too often, the motorcycle is shipped with the valve clearances too small. I had no gap I could measure from my rocker arms to the valve stem. This mistake resulted in poor engine performance.
Valve clearances too small “too tight” can lead to poor heat transfer from the valves to the head. Resulting in engine damage from ‘burnt’ valves.
Moral of the story? Adjust your Chinese “250” dual-sport right out of the crate.
Note: If your motorcycle arrives reassembled, such as with the CSC TT250, your valves are historically already adjusted. I am talking about those of us who chose to do the final assembly of our motorcycles.
Who Often To Check Valve Clearances.
Per the TBR7 owners manual, I received very 6000km’s.
Now I use this as a guide, more like a maximum. I continue to question the quality of the TaoTao TBR7, and checking the valve clearance is easy to do. With my 9 steps, valve clearance checks should be a regular, frequent maintenance item for the motorcycle.
What Valve Clearances Do I Use On My TBR7?
My TBR7’s Valve Clearance Is 0.05mm.
Please don’t beat me up! I know there are so many ‘experts’ online giving different clearances for each valve, the intake, and the exhaust, but I am sticking with the TBR7’s owner’s manual.
I know the Hartford Service Manual says for the CG-125/150 is 0.06mm – 0.08mm, but sticking with trying for 0.05mm. Find myself aiming for 0.05mm but not necessarily feeling the ‘drag’ I should with the feeler gauge, so I’m sure I’m over.
In conflict, CSC’s TT250 motorcycle has a similar engine as my TBR7, but its manual states the valve clearance should be 0.04mm to 0.07mm. Again, till I am proven wrong, I will go with a valve clearance of 0.05mm. CSC Motorcycle Website.
OK, My Valve Clearance Check and Adjustment Steps.
As always, ensure the motorcycle is safe! Secure, level surface, and unable to roll away or be started by accident. Most manuals say to disconnect the battery with any work on the engine, do what you feel you need to do to work safely.
Make sure you are safe! Safety glasses(Read My Post: Safety Glasses With Readers), ventilated area, and fire extinguisher where you can get it. I am accident prone at times, and this I feel is good advice.
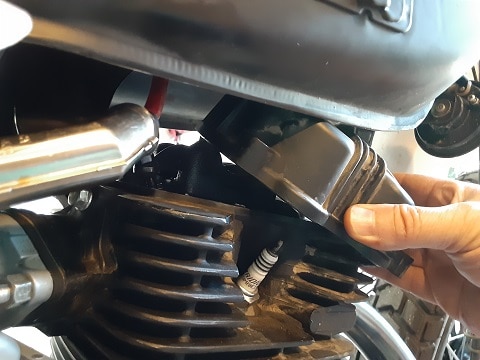
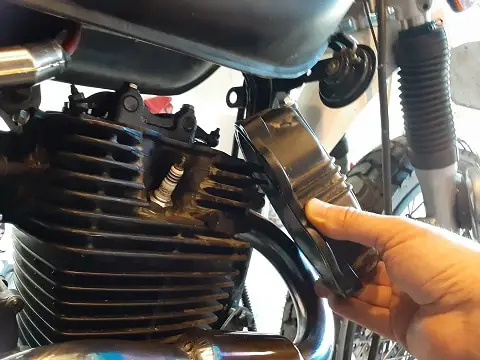
Step 1: Remove the Valve Cover.
The valve cover is held down with three bolts, all 10mm. I break the bolts free one at a time and then spin them out by hand. I used a little, very little, anti-seize on the threads in the past.
You can remove the fuel tank, but I try to keep this easy, so I do the maintenance item as scheduled. No complaints. I leave the fuel tank in place, and after the bolts are removed, lift and angle the valve cover towards the front -right side of the bike.
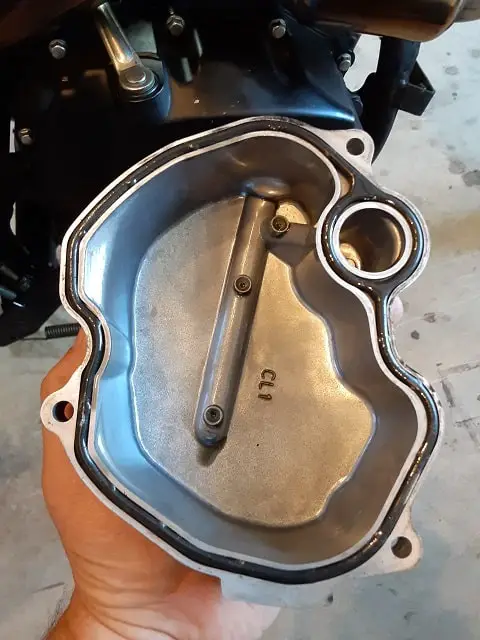
Check that the valve cover gasket is present and undamaged. Keeping the valve cover gasket with the valve cover will help prevent it from being lost or damaged.
FYI: I use a magnetic parts tray for the safekeeping of the valve cover bolts. Being magnetic, I often attach the tray to the ferrous surfaces of the motorcycle.
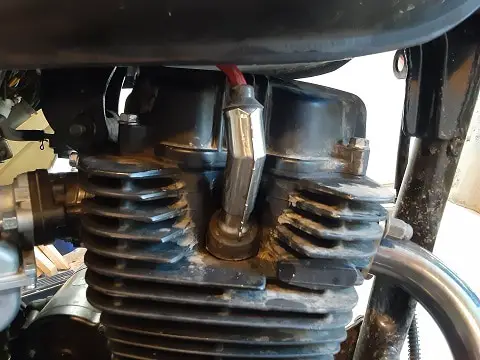
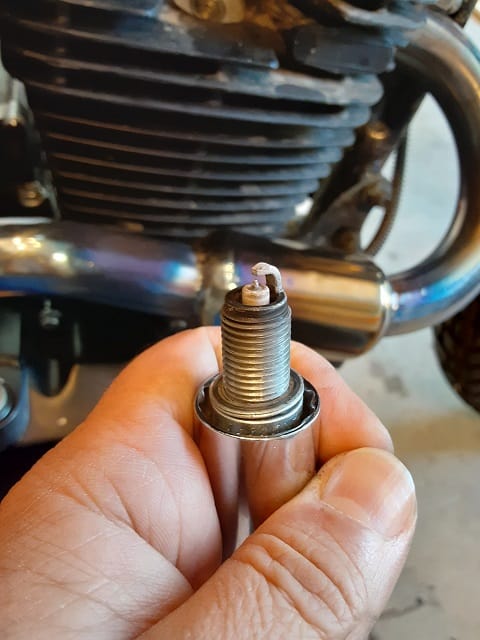
Step 2: Remove The Spark Plug.
To get to the top dead center, you have to crank the engine through its cycles. By removing the spark plug, you allow air to escape during the compression phases, making it easier for you to turn over the engine by hand.
FYI: this is a chance to check the condition of the spark plug, identifying too rich, too lean, or just right operating conditions in the engine’s cylinder.
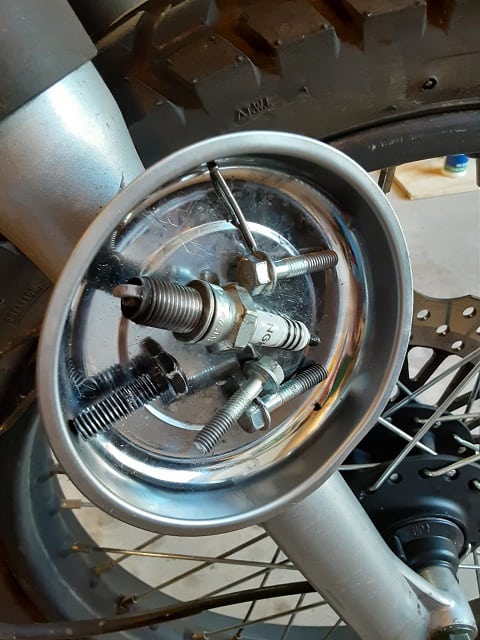
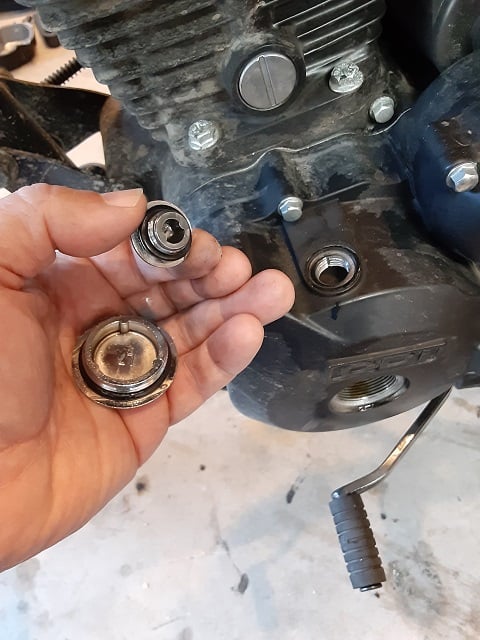
Step 3: Remove The Hand Crank and Inspection the Covers.
These covers are easy to remove with a flat head screwdriver. Be sure to check for the o-rings and their condition. Put these off to the side or out of the way. I rest mine on the engine since they are not magnetic and easily lost.

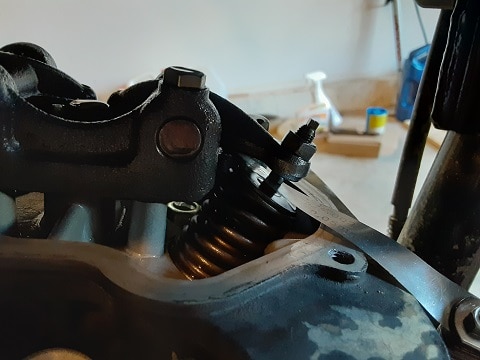
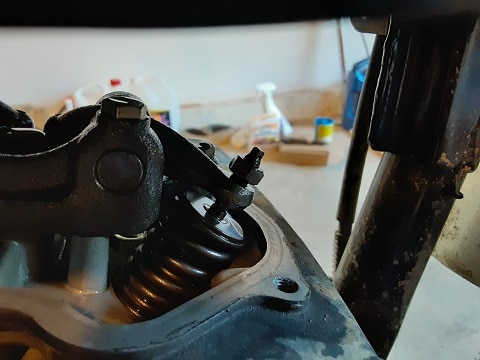
Step 4: Rotate The Engine By Hand.
Using a 14mm deep socket and ratcheting wrench, rotate the engine counterclockwise.
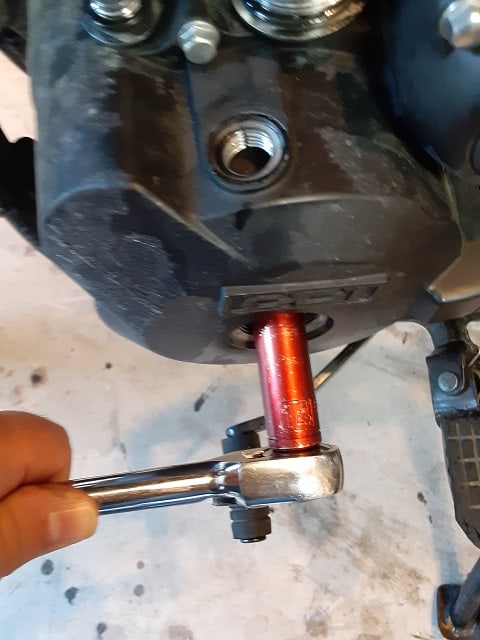
I watch the valve rockers open and close valves; I look into the inspection port after the intake valve closes. In this order, you should see marks. The first two lines, like an “11”, then the letter “F,” followed by a “T” and line. Stop on the line following the “T.” This should be the top dead center.
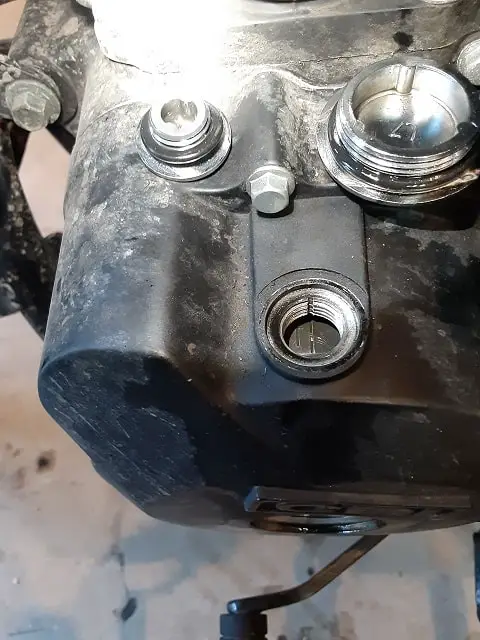
Both valves should be closed. I grab them and pull them such that they are less in contact with the valve stems. After ensuring you are at the top-dead-center position and engine intake and exhaust valves are closed, we can move on to measuring the current valve clearance.
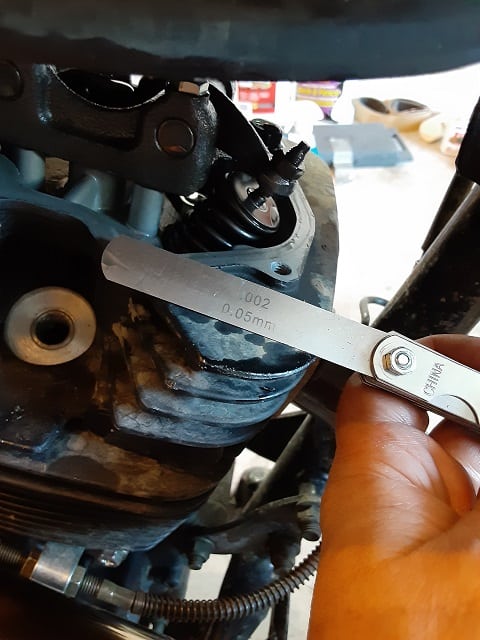
Step 5: Measure the Engine’s Valve’s Gaps (Valve Clearances).
Using a 0.05mm feeler gauge, I check for the gauge passes through the gap and if I feel the gauge is making contact on both sides. A slight drag is noticed while inserting and removing the feeler gauge.
Step 6: Adjusting The Valve Clearances.
Note: Only necessary if the valve gap is incorrect. Too small or too large, this step will set the correct valve clearances.
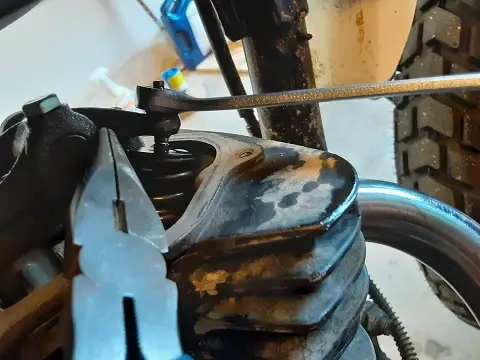
Loosen the locking nut, 10mm, and spin it a couple of turns lose by hand.
Insert the feeler gauge, loosening and tightening the adjuster till it feels snug against the feeler gauge. The feeler gauge should be free to move in the gap, but you should feel a drag as both the valve stem and adjuster are touching the gauge.
I used needle-nose pliers to hold the adjuster’s square top and then return the locking nut to the tightened status.
Once the nut is tightened, recheck the gap. Again, a 0.05mm feeler gauge should move freely in the gap, while drag is noticed when moving it.
If the adjuster moved while tightening the lock nut, loosen the lock nut and repeat adjusting again. Your needle-nose pliers should hold the adjuster securely while tightening the lock nut.
Complete the adjustments on both valves.
Step 7: Reinstall The Engine Valve Cover.
Check the presence and condition of the valve cover gasket and check all the mating surfaces. Surfaces should be clean of dirt and grim.
Slide the valve cover over the head, just like reverse how the valve cover was initially removed. Ensuring the valve cover is turned the correct way. Look at the valve cover bolt holes; two should be facing you while you are on the right side of the bike.
Once in place, insert the valve cover bolts by hand. A little anti-seize might be your friend, but some people say it’s unnecessary. I used anti-seize.
Once you cannot tighten the bolts any longer by hand, use your 10mm wrench. Now the seal is made by the valve cover gasket. It’s like a custom-formed o-ring, so once you feel metal to metal contact, valve cover to head, stop. Snug the bolts slowly, and that is it. The gasket is compressed and doing the sealing.
Step 8: Reinstall The Hand Crank And Inspection Covers.
Be sure to check the presence and condition of the o-rings. Clean the area of grim since cut o-rings tend to leak. Hand-tight has been good for me.
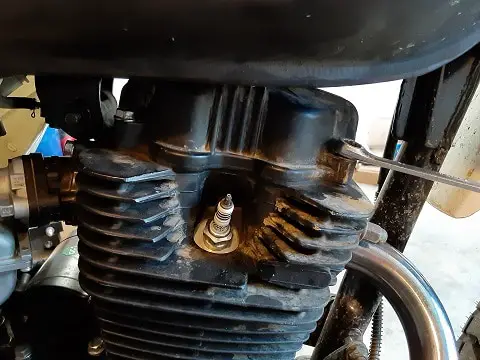
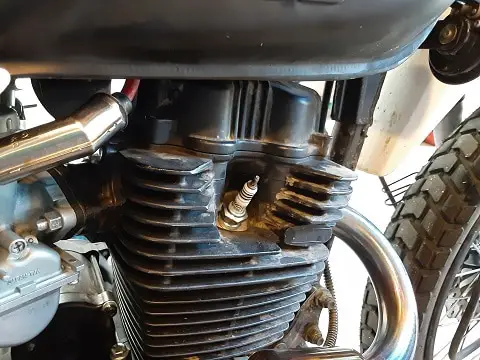
Step 9: Reinstall The Spark Plug.
Common sense, hand thread, and then snugged down with a wrench. Again, a tiny bit of anti-seize on the thread has been my friend.
Attach the spark plug boot, and you are done!
Look at that, my TBR7’s valve clearances were checked and adjusted in under 10 steps.
Now The Fun Part!
Test Your Work, and Go For A Ride! Take your TBR7(if you are cool like me!), your Hawk 250(if you follow the masses.) and your Brozz 250(seriously, you get that just to be weird?) out of a good long ride. Enjoy the fruits of your labor
These Chonda engines use push-rods and have wide clearances on the valves so that you might hear tapping noises with properly adjusted valve clearances. But Remember…
Tappy Valves are Happy Valves!
Unknown
The valves are OK. The valves sound like they are seating, sealing the engine cylinder, and giving up heat to the head for their long life.
Valve Clearance Adjustments and Check Warning.
Motorcycle maintenance can be dangerous. It exposes you to petroleum products and dirt. If you are unsure about your ability to do this maintenance, seek professional assistance safely.
Riding motorcycles should be fun, not frustrating. Take your time and take care of yourself and your bike.
Ride Safe, Ride Fun!
