
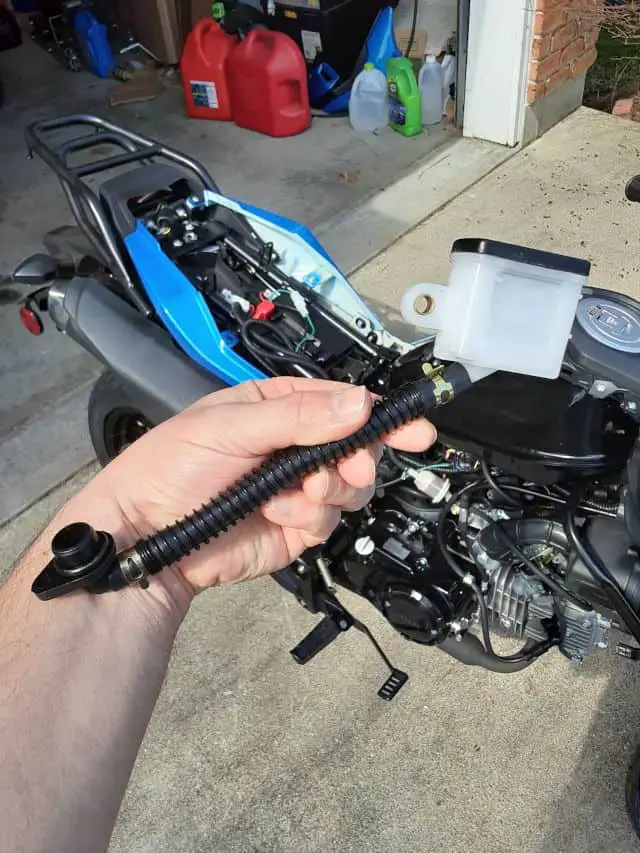
As I posted earlier( Boom Vader Assembly Problems & Concerns ), I found out that I had no rear brakes. I had a couple of suitable pumps till I had no rear brakes. My new Boom Vader motorcycle brake fluid reservoir fill line to the master brake cylinder had a break.
I got my replacement motorcycle brake fluid reservoir from the vendor that sold me the Boom Vader. I’m ready to begin a business and document my motorcycle brake fluid reservoir replacement process. This way, you can critique me, or maybe I can inspire someone else to do their work on their motorcycle.
Preparing For The Motorcycle Brake Fluid Reservoir Replacement
1.- Safety first.
The motorcycle should be on a level surface and not able to roll away. I like to have the engine cool to the touch and ignition turned off, both the key and the kill switch.
Use safety glasses to work with tools and chemicals(Brake Fluid). Because my contacts interfere with close-up seeing, I got readers builtin into my safety glasses( Safety Glasses With Readers. ).
I’m told that brake fluid will damage paint ( https://www.uti.edu/blog/collision/ruin-car-paint ), so take steps to collect and clean up any spilled brake fluid.
Use common sense: My Motorcycle Garage Safety Rules – FAQ
2.- Remove the right-side motorcycle panel.
The Boom Vader motorcycle doesn’t have instructions to do panel removals; the motorcycle came with the panels installed, so I did my best to identify every screw I needed to remove. There were many.
3.- Drain the old motorcycle brake fluid reservoir.
In my case, it was due to where the break in the system was; the brake fluid reservoir was empty. However, you can use a tube going to a collection device and bleed your brakes till the bike’s brake fluid reservoir is empty.
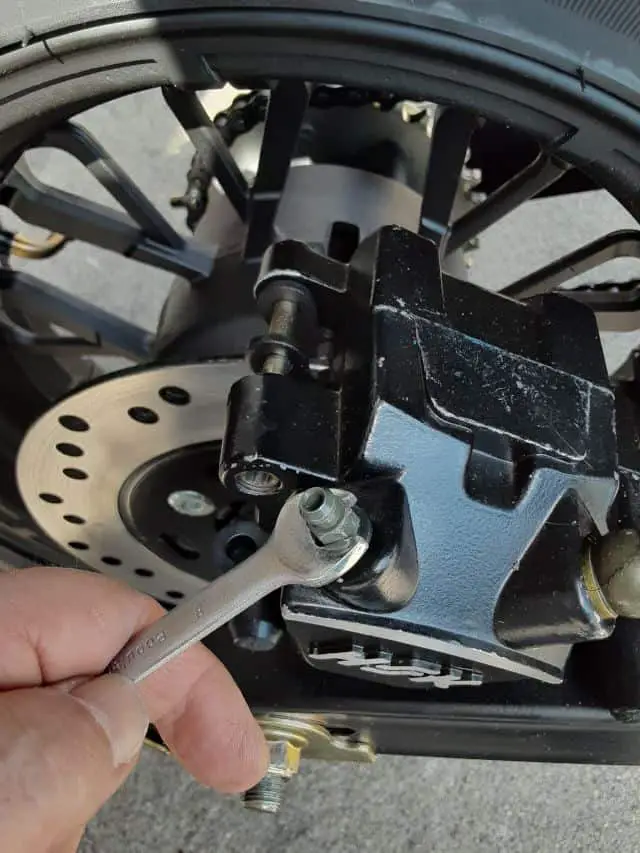
4.- Remove the old Motorcycle brake fluid reservoir.
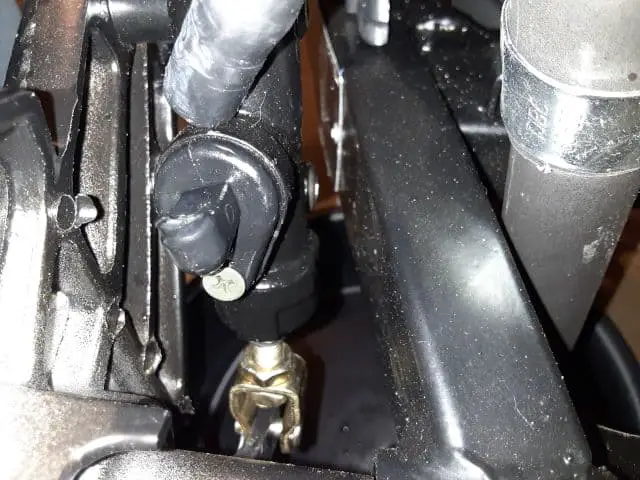
I remove the bolt holding the Motorcycle brake fluid reservoir to the frame and the screwdriver to move the master cylinder inlet nipple. The bolt and screw will be reused, do not throw them away!

5.- Install the new motorcycle brake fluid reservoir.
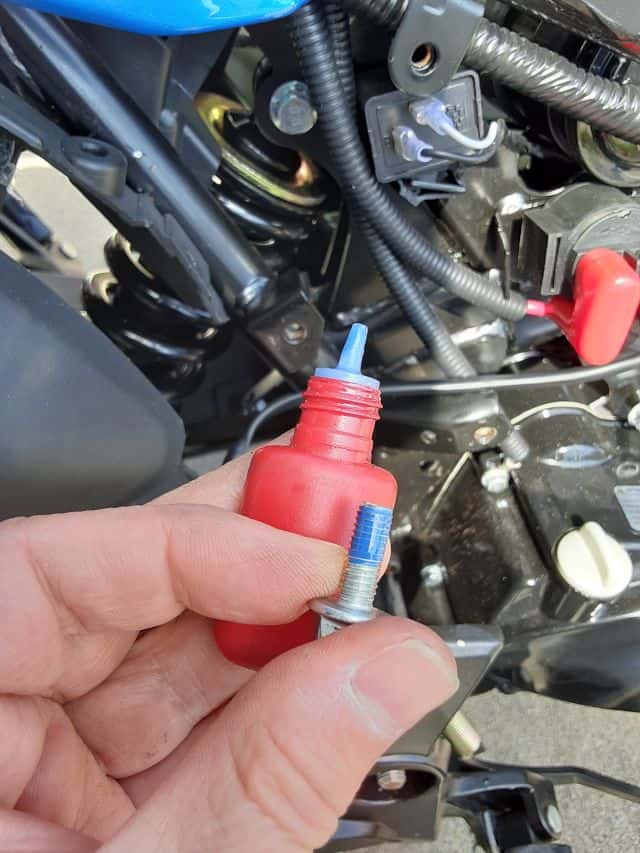
I typically use thread locker on all my fasteners but did not on the screw. The only thing I want inside my brake system is brake fluid. So I skipped putting thread locker on the screw.
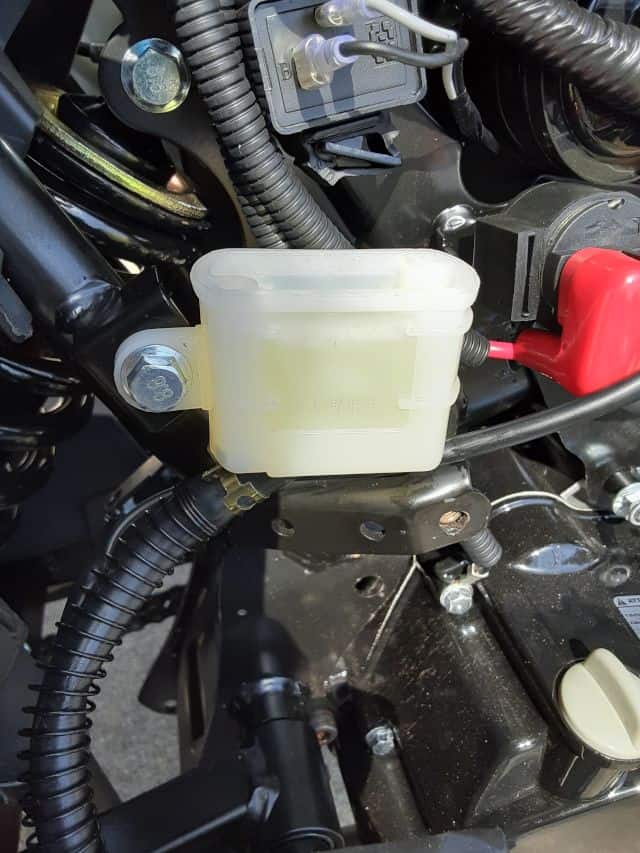
Screw in the master brake cylinder inlet nipple. Be careful since this is a plastic part and the last one arrived broken just from shipping.
Now attach the brake fluid reservoir with the original bolt; I used a thread locker. Ensure the brake fluid reservoir is level with the motorcycle and tightened down. Again, this is a plastic part.
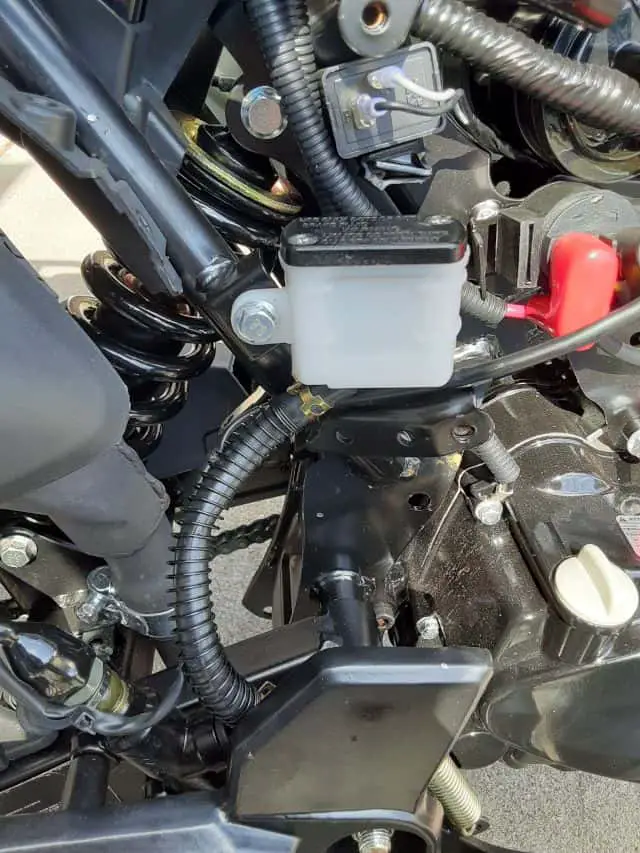
6.- Fill with appropriate brake fluid to the full-line on the reservoir tank.
Filling it high will help minimize how often you have to refill the brake fluid while bleeding the brake line.
7.- Bleed the brake line.
This bleeding can be done in many ways, commercial kits, DIY tubing into containers, or with just rags.
Regardless of how you do it, the point is to press down on the brake pedal, pressurizing the brake system and then opening the bleeder quickly to squirt out fluid while preventing air from getting into the system.
Be sure to monitor your motorcycle’s brake fluid reservoir, keeping it full.
8.- Test the brakes.
After you are done with the bleeding brake system, clean up all the connections. Then press hard on the foot pedal.
- Check for brake fluid leaks.
- Check the mechanical integrity; nothing breaks.
- Check for spongy responses.
- Check that the brakes will hold the bike still by moving the bike.
When satisfied, replace the brake fluid reservoir cover, and move to the next step.
9.- Test Ride The Motorcycle.
I went very slowly and tested the rear brake. With each successful test, I increased my speed. Not too fast; the motorcycle isn’t broken in or tagged. Shh……
10.- After successful testing, clean up.
I checked the final level of the Motorcycle brake fluid reservoir, reinstalled the side panel, and cleaned up the tools and fluids. The brake fluids can be recycled as per your local regulations.
The Boom Vader Came Broken, You Mad Bruh?
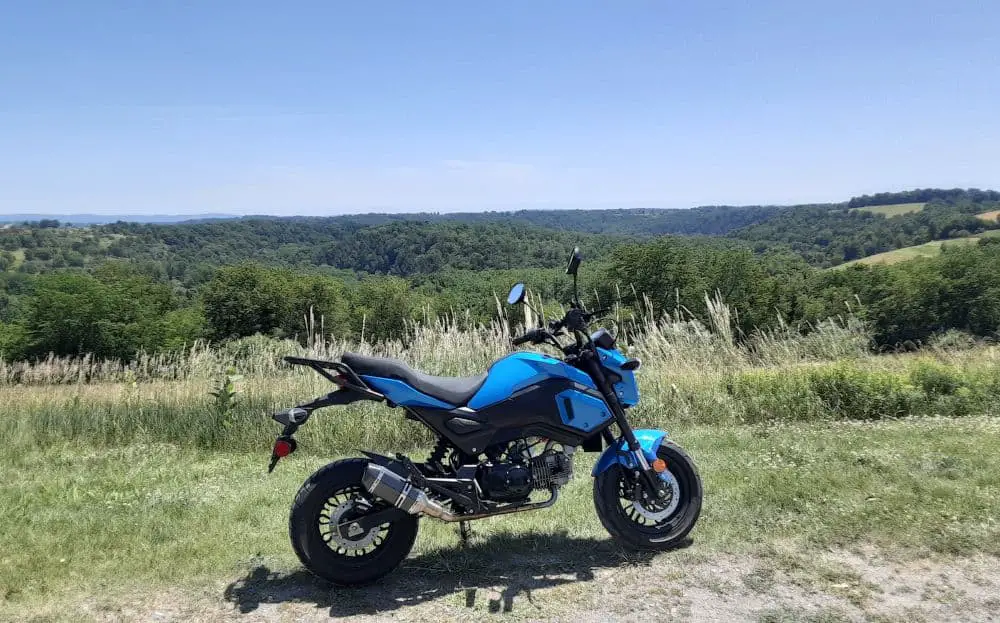
The Boom Vader looks to be a better build quality than my TaoTao TBR7 motorcycle, so I was surprised by how nice it was. Also, how easy the Boom Vader was to do the final assembly.
So I didn’t feel the broken brake fluid reservoir line was intentional. This bike traveled very far to get to my house. The shipping items can break, so why is there a warranty.
Also, Chonda owners have thick skin. :p
Now The New Boom Vader Warranty, OK?
I plan to detail the events from buying the Grom Clone to making a report something was broken and receiving the replacement part. This later post will be a critique of the bike’s retail seller. But a little spoiler alert, I am satisfied with the service I’ve received.
This is the first time I have done a motorcycle brake fluid reservoir replacement, and I hope that other motorcycle owners, especially Grom Clone and Boom Vader owners, take a look at my work. Please leave feedback.
Ride Safe, Ride Fun!
