
Now that my little Grom Clones sounds much better with the new exhaust upgrade, it had to become a drama queen and throw a fit. Well, this gave me a chance to cover it and write about my Boom Vader 125 exhaust upgrade bloopers and help you learn from my mistakes.
My Boom Vader 125 Exhaust Upgrade Results.
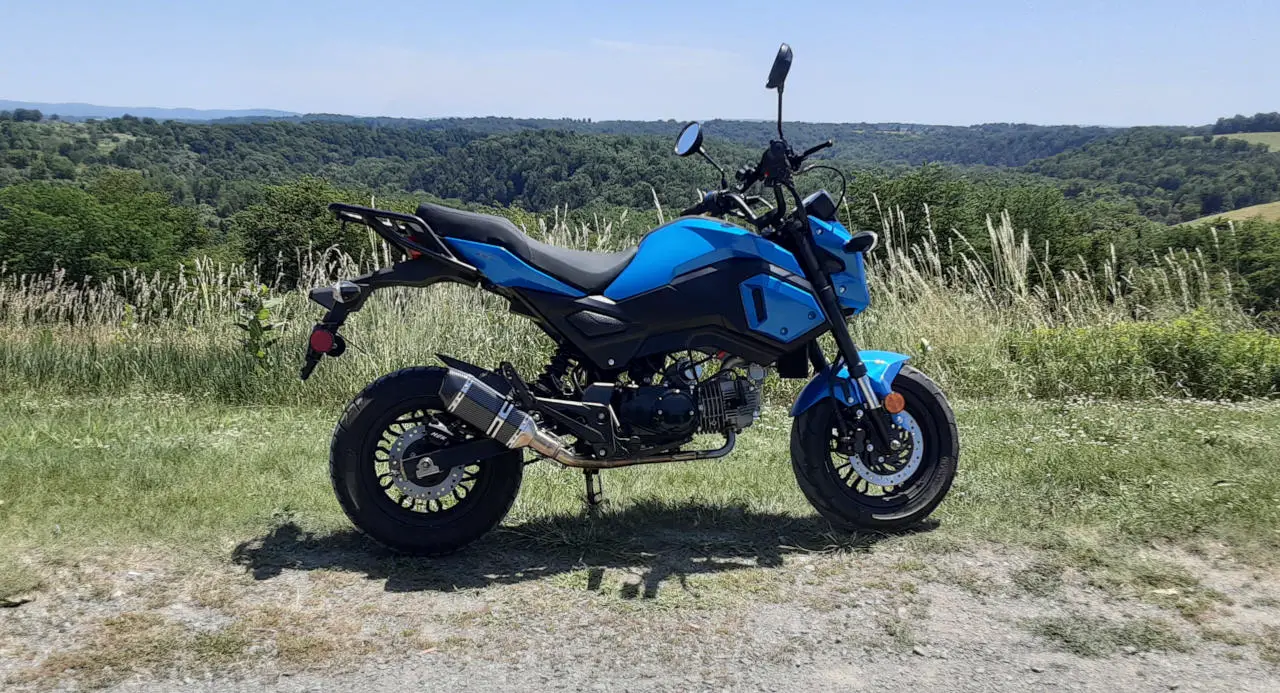
First, I might have made a few mistakes, but I suggest you upgrade your exhaust ( Basic Boom Vader Aftermarket Exhaust Mod Instructions ). The results are excellent. The piping is larger for better performance, the muffler hangs lower for good sound reverberation, and looks good.
So I was hoping you wouldn’t make my mistakes as a way to discourage you from upgrading your Grom Clone; these little motorcycles want to be upgraded. They are blank slates for your own customization and mod’s. Party on Chonda Owners!
OK, now for my Bloopers.
Engine Exhaust Upgrade Blooper and Pissed Off Boom Vader!
Here is the setup. With my upgrades, I feel more and more confident with the Boom Vader’s reliability and enjoy longer rides. So I was about an hour away from home and riding when I hit a bump, and the Boom Vader screamed.
Well, screamed sounds a little dramatic, but this Grom Clone wasn’t happy with my mistake and decided to yell very loudly at me. Yes, the bike got LOUD! Well loud for a 125cc engine.
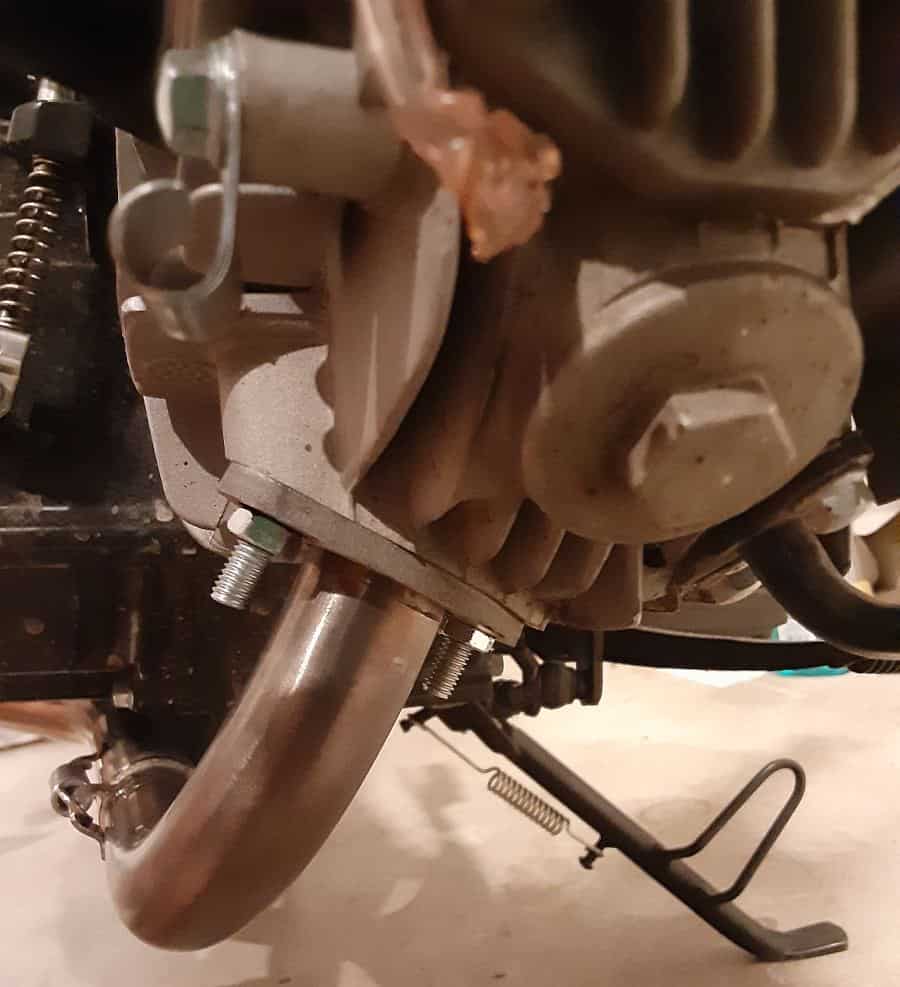
I pulled over and saw this:
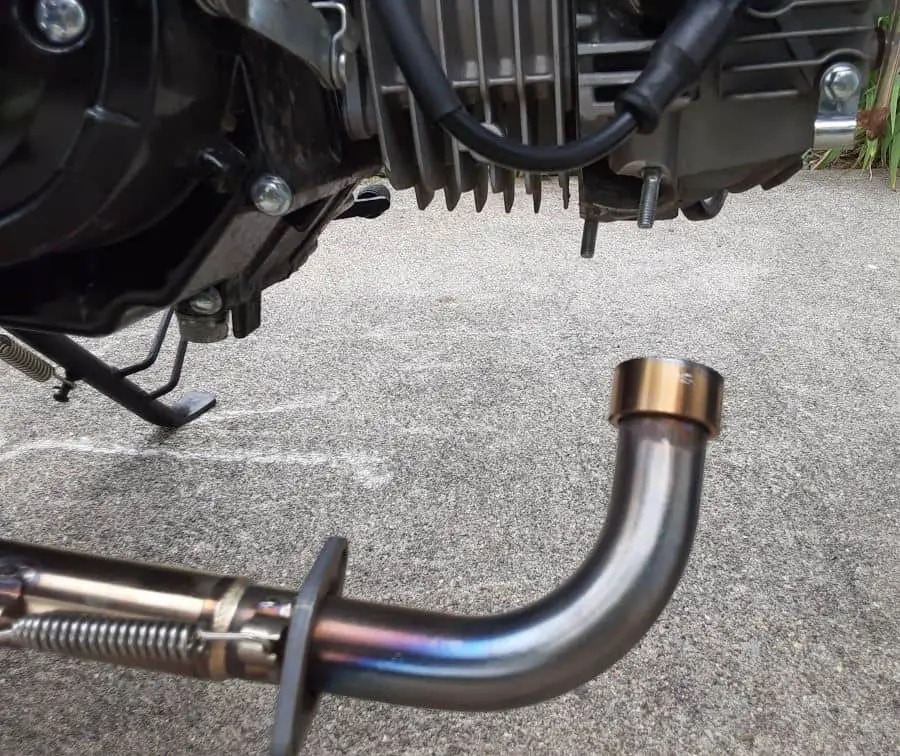
Yes, I messed up—the first sign of a few mess-ups with upgrading the Boom Vader’s exhaust.
Backtrack To My First Mistake, I Controlled.
I often do test rides and retests of connections and check the tightness of my nuts and bolts. This time it seems I didn’t. 🙁
The section where the exhaust comes out of the engine gets hot. So this section goes from environmental temperature to max engine exhaust temperature. So this section will have the maximum expansion and contraction factors.
I didn’t do a good enough test ride or really retested the tightness of these bolts after the upgrade.
My Laziness, Lead To This Real Exhaust Problem.
So now that I didn’t correctly check, the exhaust nut tightness led to my Boom Vader losing her nuts. Again, a drama queen.
One Thing Right, Prevented An Accident.
If you followed my exhaust upgrade ( Basic Boom Vader Aftermarket Exhaust Mod Instructions ), the new exhaust only has two mounting points.
- The engine exhaust with the two nuts.
- The Muffler Mount, with a single bolt.
I tightened the muffler enough to prevent the exhaust from dropping and pole-vaulting me into the air.
Yeah, how I imagined this exhaust mess up could have gone, being launched into space. Blessed it didn’t.
My Exhaust Blooper Count: 1, 2, oh no #3?????
Last and final blooper, a real mess up. I had no tool or repair kit.
I had no tools to remove the exhaust or parts to reattach the exhaust piping properly.
I had options:
- Reattached the exhaust piping to the engine exhaust port.
- Remove spring and separate front exhaust piping from dangling to the ground.
- Remove the muffler, having no part that can fall and make contact with the ground.
Without tools, I had no options. I prayed and drove to a close-by store.
Duct Tape To Rescue!
I managed to drive to a local gas station and picked up some duct tape. My solution:
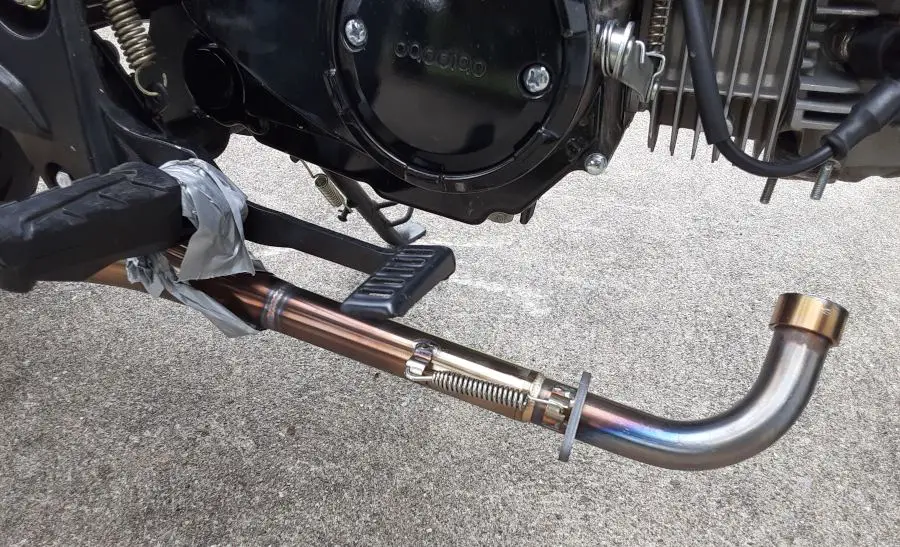
I now keep the rest of the roll under the seat.
I drove home like this, noisy, and another side effect I noticed with losing your exhaust connection.
My Boom Vader’s Engine Rev’s High!
I didn’t realize how much a load the exhaust system places on the little 125cc engine. The motorcycle’s normal idle speed with the exhaust on is 1500 RPMs; without the exhaust, it jumps to over 3000 RPMs.
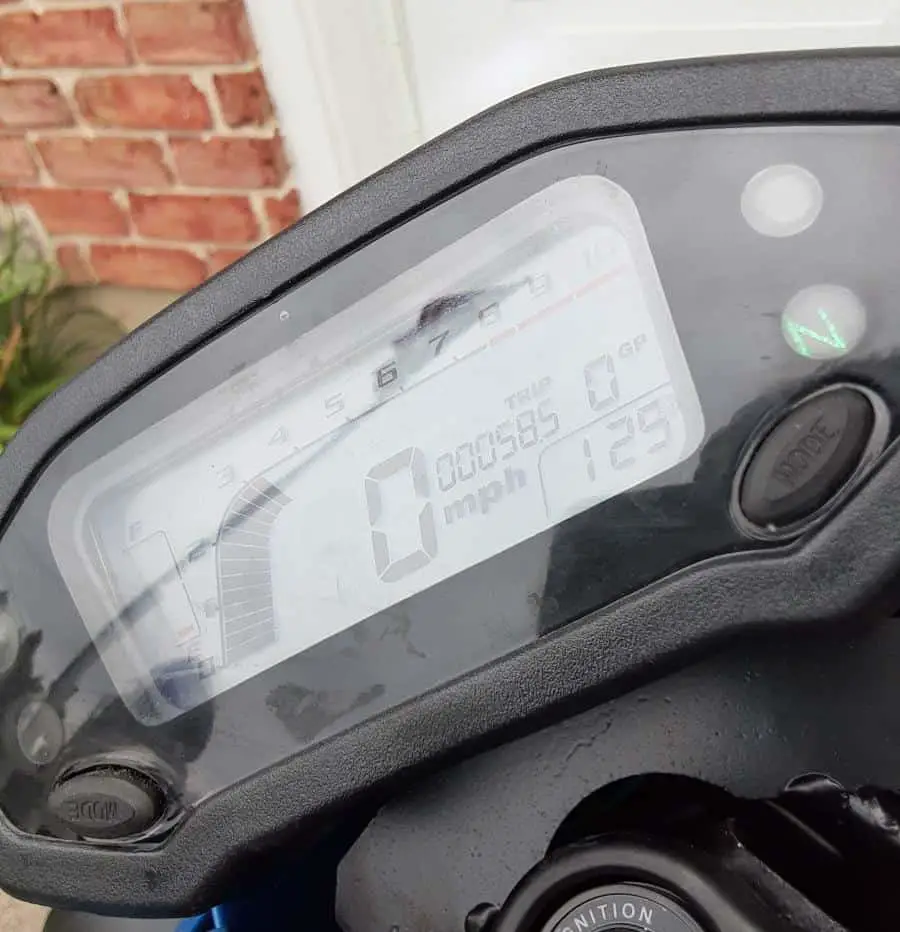
Just a lesson that a good low-resistance exhaust helps improve engine performance.
How I Fixed My “Nutty” Mistake:
Yeah, bad pun. :/
OK, I found nuts that fit the exhaust studs.
Nut size: M6x1mm
I used a cheap kit from Harbor Freight I previously picked up, but these sizes can be found at the local hardware store, I’m sure.
Now the exhaust nuts, or acorn caps, didn’t just hold on to the exhaust piping at the flange but were long enough to protect the threads from the road grime and corrosion. So I again came up with a solution.
If one set of nuts works, three sets must bet better. :p
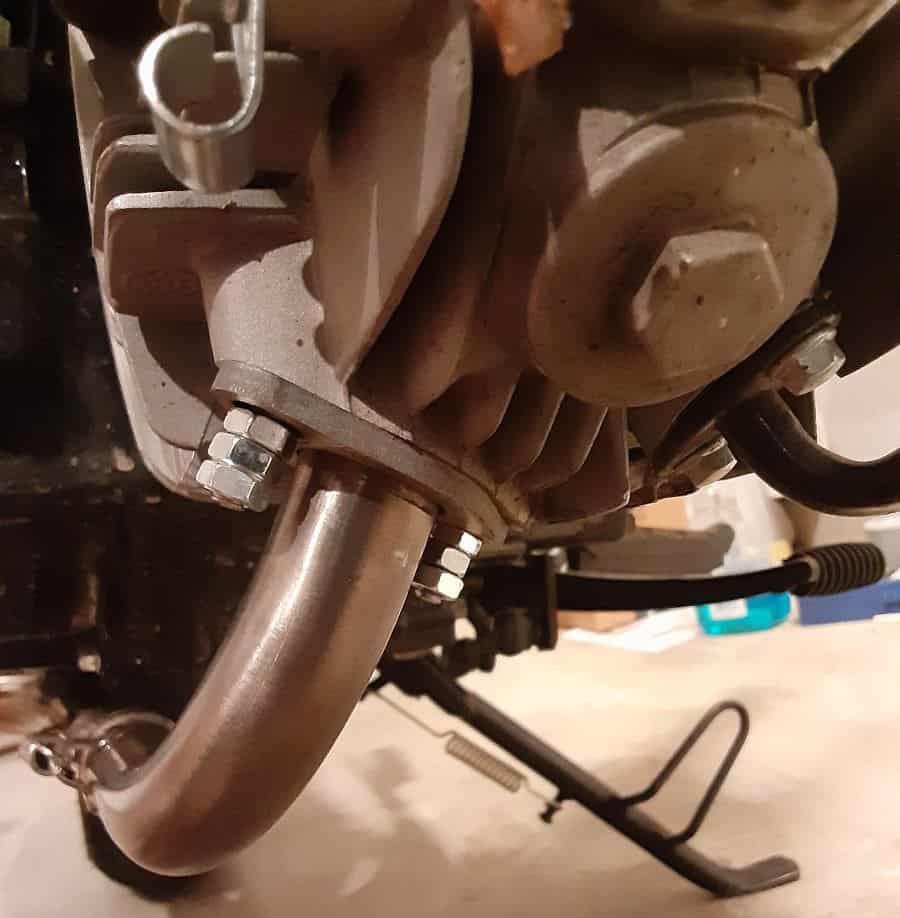
I stacked the nuts on the exhaust studs, and so far, this has worked for me.
Don’t let this happen to you.
Lessons Learned.
- Do a real test ride after upgrading and retest all connections for tightness.
- Carry a motorcycle tool kit.
- Also, I like upgrading the exhaust system on my bikes (Chinese Motorcycle Exhaust Review).
I hope this helps prevent upgrade mistakes, and you got a laugh out of my mishaps. Also if you are interested in how it finally sounded check out: My Boom Vader 125cc Exhaust Review
Ride Safe, Ride Fun
Click To See My Recommended
Boom Vader Gen 2 Upgrades

Hi I’m Tom, A New Motorcycle Rider and Blog Author.
I am a new rider(Pa Learners Permit at the end of 2020, and I received a Pa Motorcycle License in 2021 after passing a Motorcycle Safety Course).
I bought my first motorcycle, a TaoTao TBR7, at the beginning of 2021 and have been doing upgrades on that motorcycle since.
I added to my motorcycle collection by buying a Boom Vader Gen 2 in 2022, and that Grom-Clone motorcycle has been upgraded by me as well.
I continue to ride my Boom Vader Gen 2 motorcycle as well as my TaoTao TBR7 dual-sport bike.
Read more on my About Me page.
Fun Fact: I’ve only been on one group ride.
