
When people are doing performance upgrades to their Grom Clone motorcycles, they never figure to upgrade the stock motorcycle chain. I am upgrading my new Boom Vader’s stock chain ( Stock Boom Vader Chain Good or Bad? ), and these are my Grom Clone motorcycle chain replacement instructions I formulated while looking at my bike.
The Boom Vader is a little motorcycle, 125cc is what people list as, and part of its model name: BD125-10. Even though it is a small motorcycle, I put a lot of load on the little engine and drive train, trying to push the motorcycle harder and harder with my myself and equipment weight.
So, let’s get rid of myths and focus on doing an upgrade. I hope to increase the reliability of my Grom Clone. Also, I was comfortable changing my motorcycle’s chain; if you aren’t, please seek help from a motorcycle mechanic. No need to hurt yourself or damage the motorcycle.
Can You Replace Just The Chain On A Motorcycle?
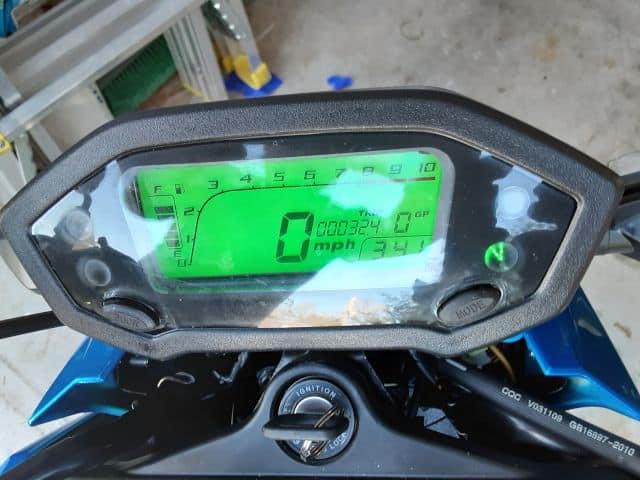
In this case, yes. The front sprocket is brand new; I just upgraded it to a 17-tooth version ( Boom Vader 17t Front Sprocket Upgrade Steps ), and the rear sprocket is stock, but this motorcycle has very few miles on it.
Typically, if the motorcycle chain is worn, you need to inspect the motorcycle sprockets closely. These sprockets and chains seem to wear into one another, picking up each other’s flaws. So it is recommended to be safe to replace both the motorcycle chain and sprockets simultaneously, but that’s later in life, not today.
What Is The Boom Vader Chain Size?
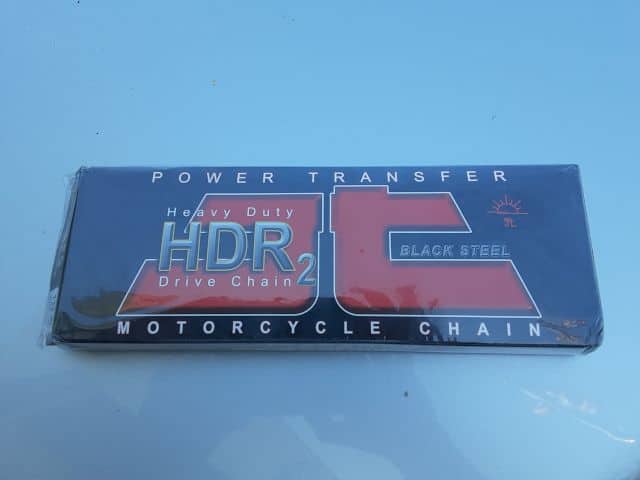
The stock sprockets and chain that came with my Boom Vader is 428.
What is the Boom Vader Chain Length?
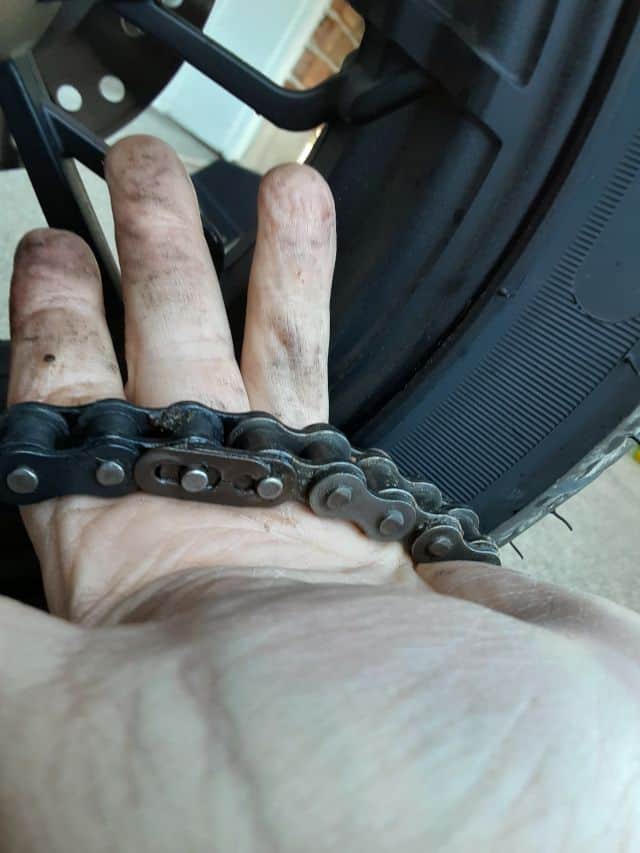
The stock motorcycle chain length is 108 links.
Boom Vader 125cc Chain Size – FAQ
I upgraded this Boom Vader to a larger front sprocket. Even with the increase in that sprocket’s circumference, I was able to keep the stock motorcycle chain.
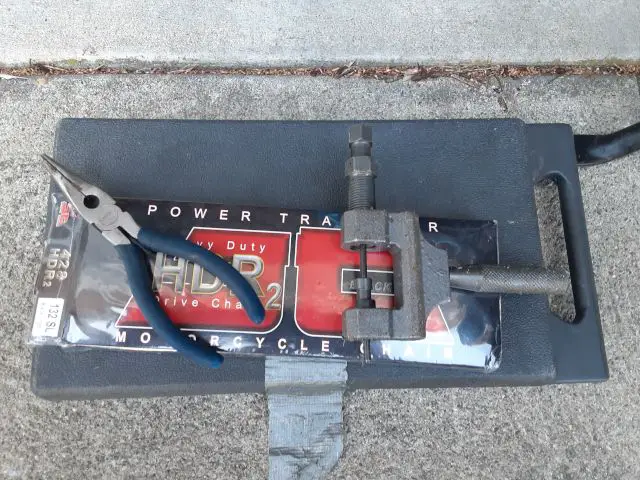
However, I managed to order a longer chain from Amazon, and I picked up a chain with 132 links. I plan to cut out the excess links with a motorcycle chain breaker and keep them for possible later sprocket upgrades. This is just my weird thinking; as usual, this post is less a how-to but learn from my mistakes post. 😀
You don’t have to do this; you can count the number of links on your Grom Clone motorcycle chain and order that. 1 for 1. I just went with extra links and created an additional step in my chain installation.
My ordered replacement chain for Boom Vader 125cc Motorcycle I own:
Author’s Notice: This page contains affiliate links, for which I may earn a commission by their use. Also, as an Amazon Associate, I earn from qualifying Amazon purchases.
Now I ordered a longer chain (132 links); you can order the same. However if don’t want to break the chain, you can order the stock sized motorcycle chain size listed from Amazon:
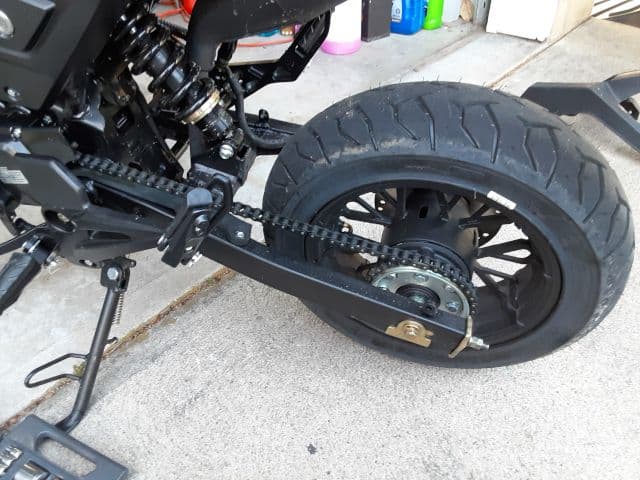
My Boom Vader Motorcycle Chain Replacement Instructions:
1.- Motorcycle Repair Safety.
- Motorcycle on a flat level surface, no chance of rolling way.
- PPE, small parts, and spring clips are used ( If needed: Safety Glasses With Readers ).
- Engine off(key out, kill switch “killed”) and cool to touch.
- My FAQ: Motorcycle Garage Safety Rules
2.- Collect Your Motorcycle Tools.
- Socket Set, Metric, I used a 10mm socket.
- Needle-nose pliers.
- Chain Breaker (optional but since I ordered a bigger chain I am using it).
FYI: Building My List of Must-Have Tools For Motorcycle Owners
3.- Collect Your Shop Supplies.
- Thread locker!!!! It’s like life’s blood to a Chonda.
- Rags. The old motorcycle chain will be grimy, and the new motorcycle chain will be coated in heavy grease. I might have to wipe off tools or the chain to better grip. You can lay these on the ground to protect the new chain from fresh grit and grim.
- Gloves (optional): I usually use cheap inspection gloves to help keep hands cleaner, but if you like dirty fingernails and hands, this is optional. The grease is hard to wash off.
4.- Put The Motorcycle Into “neutral.”
- Test the motorcycle doesn’t roll away.
- Having the engine in neutral will allow for easy chain replacement.
5.- Remove the rear fender/chain guard.
- 4 – 10mm bolts holding the rear fender/chain guard to the swing-arm. I use a magnet tray to keep my parts and prevent loss. You might want to order one: 4-Piece Large Magnetic Parts Tray Set
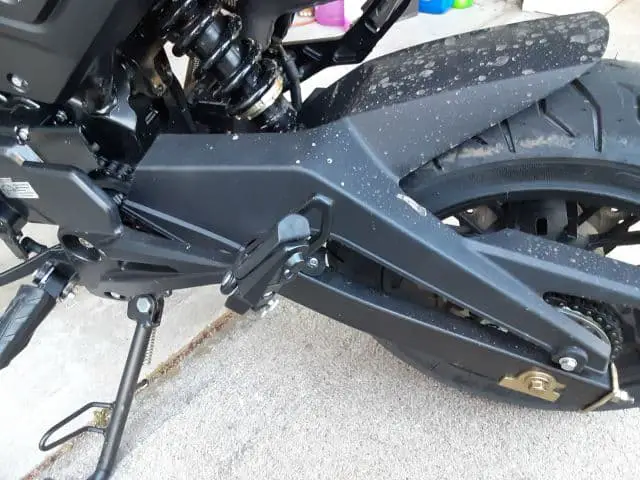
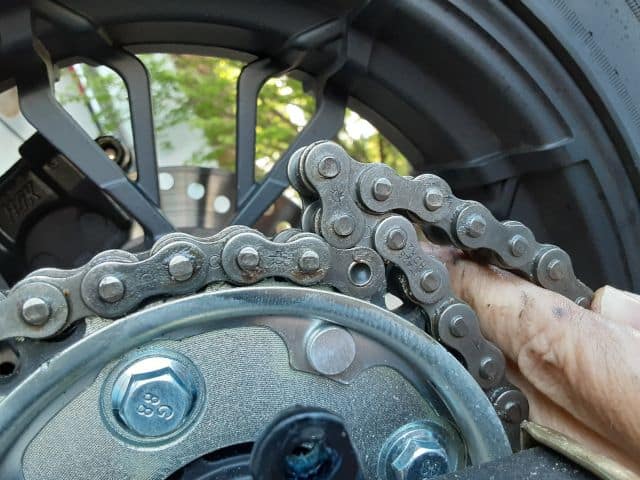
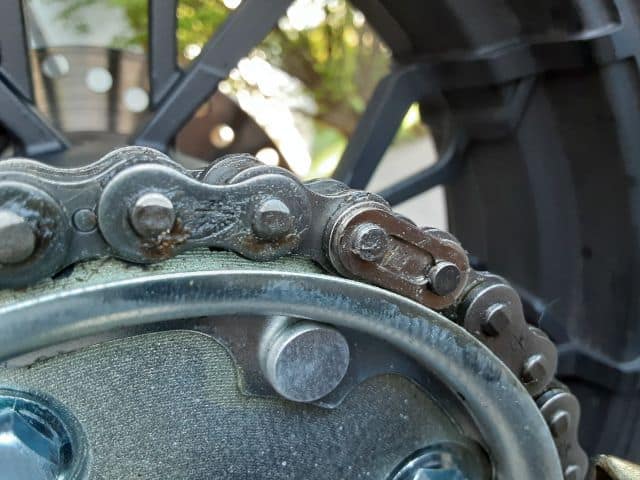
6.- Rotate the rear wheel to see the master chain link.
- Be safe here, don’t handle the chain while the bike’s wheel can rotate; you can trap and cut off your finger. If necessary, have a friend help or a lift, but safely lift the bike’s rear and rotate the raised wheel.
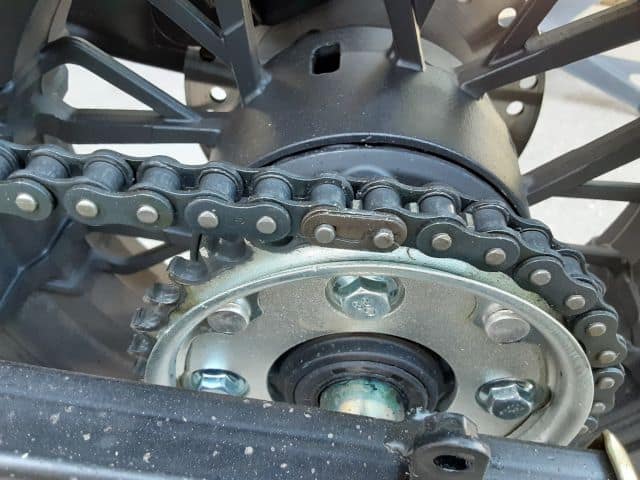
7.- Remove the master chain link.
- First, notice the orientation of the locking spring clip. The open section faces away from the chain rotation direction. You want to reproduce this.
- Remove the spring clip; I used needle-nose pliers to do this.
- Remove the removable side plate on the link, on the same side as the spring clip.
- Remove the rest of the master link, and be prepared for the chain to fall.

8.-Connect the new motorcycle chain to the old motorcycle chain.
- I took the end of the old motorcycle chain, the upper portion, and reused the old master link to connect this end to the end of the new motorcycle chain.
- The old motorcycle chain’s upper portion will pull the new motorcycle chain forward and through the front sprocket housing.
9.- Slowly pull the old motorcycle chain.
- Pull the old motorcycle chain’s lower portion while keeping tension on the new chain as it feeds into the front sprocket housing.
- Continue to pull till the new motorcycle chain exits the lower hosing.
10.- Remove the master link.
- This will disconnect the old motorcycle chain from the new motorcycle chain.
11.- Check the ends of the new motorcycle chain.
- If your motorcycle chain ends with the master link, you can move on.
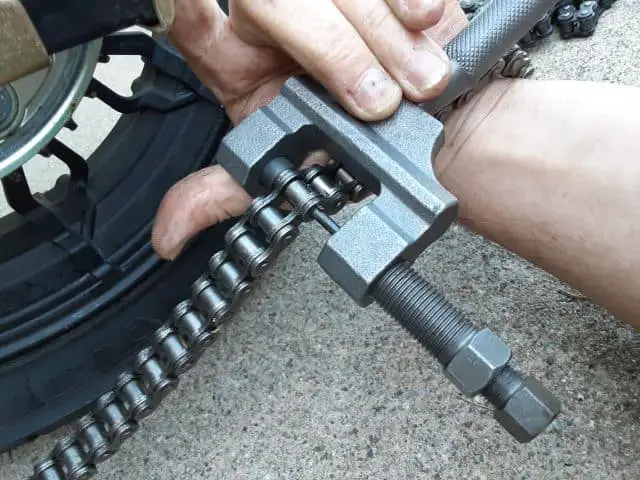
- If your ends do not meet up, as in too long as mine was, remove links with the chain breaker till the ends meet with the master link.
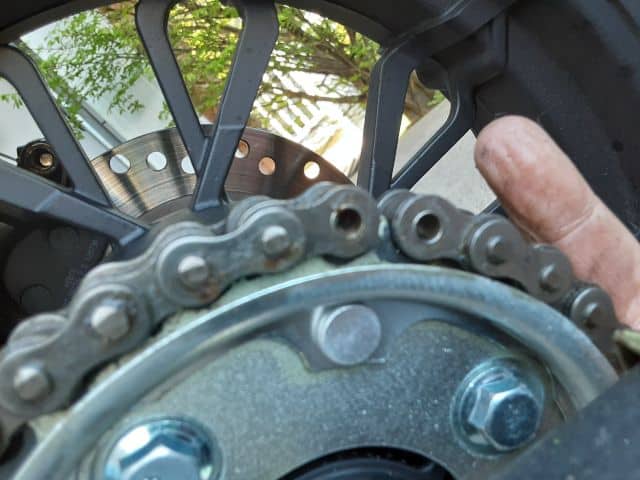
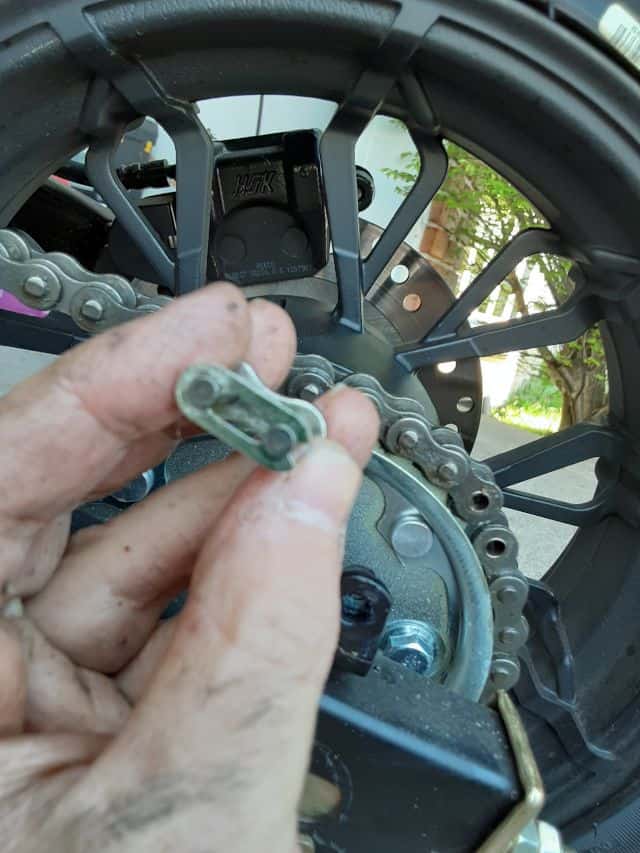
12.- Install the new master link.
- Slide the link from the wheel side to the outside direction.
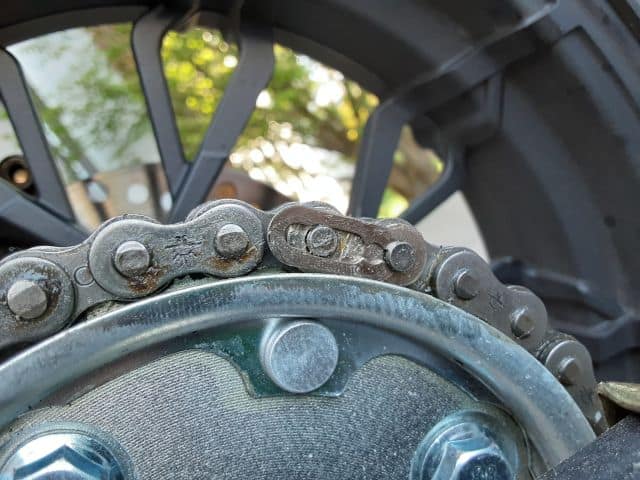
- Put on the removable plate. I used the needle-nose pliers to squeeze slightly, exposing the locking clip groves.
- Slide the locking spring clip such that the opening is away from the direction of chain rotation( FAQ: What Direction Does A Master Link Clip Go On? ). If anything catches on the master link, it doesn’t remove the locking spring clip.

13.- Rotate the chain and check the chain.
- With the help of friends or able to lift the rear wheel safely, rotate the wheel.
- Inspect for free movement and no binding.
- Check and adjust chain tension( How To Adjust Your Motorcycle Chain ). There might be some normal ‘stretching’ at the beginning of chain life as a new chain.
14.- Reinstall wheel fender, chain guard.
- Reinstall the four bolts with thread-locker
15.- Clean up and go for a ride!
- The worst part of any motorcycle maintenance or upgrade is the clean-up. The grease on the new chain stuck to everything and took a while to clean up both tools and myself.
- The best part of any motorcycle maintenance or upgrade is to go riding. Take your time to test out the new chain at slow speeds; if any problems do not continue to ride, get assistance to fix the problem.
The Boom Vader Has A New Chain!
Now, this might not be much of any performance upgrade; although I ordered a non-o-ring motorcycle chain for more power transfer to the rear wheel, it’s a reliability upgrade to enjoy my Grom Clone better. Besides, I don’t want to give those Grom Clone haters a chance to laugh at me broken down on the side of the road. :p
Remember, Ride Safe, Ride Fun!
Click To See My Recommended
Boom Vader Gen 2 Upgrades

Hi I’m Tom, A New Motorcycle Rider and Blog Author.
I am a new rider(Pa Learners Permit at the end of 2020, and I received a Pa Motorcycle License in 2021 after passing a Motorcycle Safety Course).
I bought my first motorcycle, a TaoTao TBR7, at the beginning of 2021 and have been doing upgrades on that motorcycle since.
I added to my motorcycle collection by buying a Boom Vader Gen 2 in 2022, and that Grom-Clone motorcycle has been upgraded by me as well.
I continue to ride my Boom Vader Gen 2 motorcycle as well as my TaoTao TBR7 dual-sport bike.
Read more on my About Me page.
Fun Fact: I’ve only been on one group ride.
