
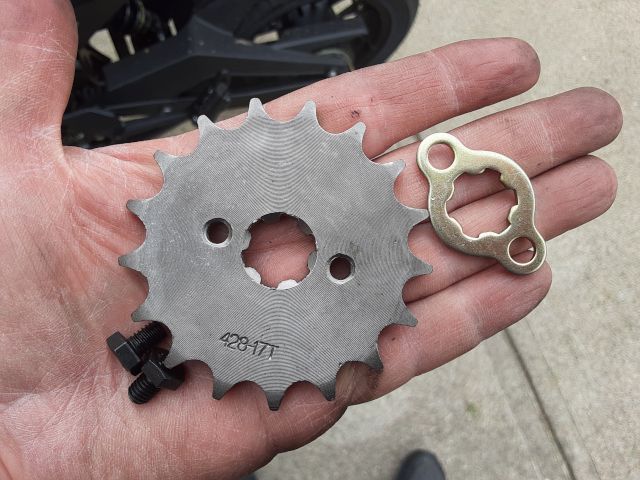
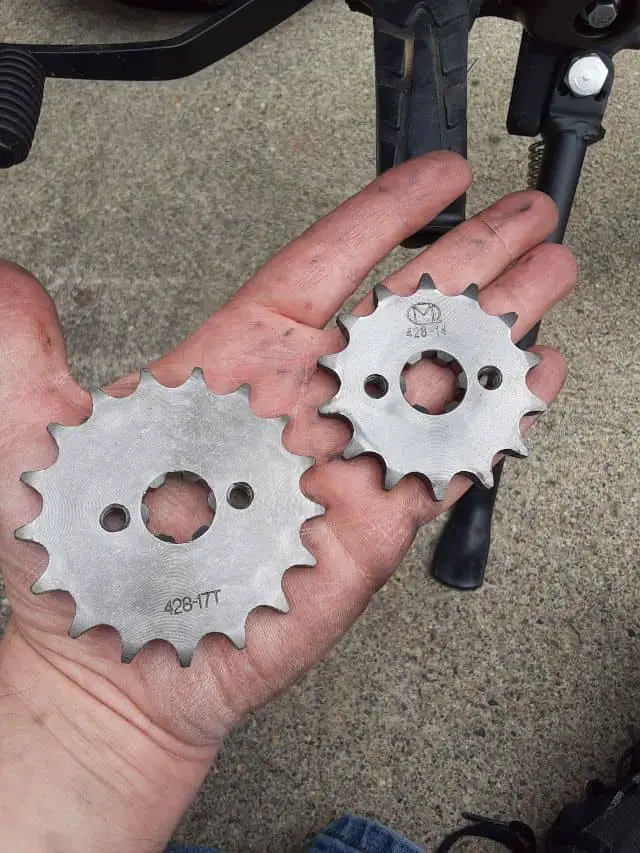
This 17t front sprocket is the first real upgrade I’m doing to my new Boom, Vader.
I feel changing the oil was a real reliability upgrade to the little Grom Clone( My Boom Vader Gen 2 Will Stay Stock, Except? ), but oil changes are part of the motorcycle’s regular maintenance schedule. So to help others, this is my Boom Vader front sprocket upgrade with steps I took.
This upgrade is, at best, a reference for your research. As I mentioned many times, I am new at riding and working on motorcycles and shouldn’t be a role model but an example. Learn from my mistakes. 😀
Is this upgrade going to be worth it? I hope I wasn’t impressed with the speed tests I did with the stock setup ( My Stock Boom Vader’s Top Speed Test ). Barely holding those speeds might work with the inner city (25mph zones), but I ride back-country and need to do closer to a comfortable 50’s mph not to be a road hazard to other drivers. Closer to 60 mph with this Grom Clone would give me more safety room, but I weigh almost 200 pounds with gear, so 60 mph might be a pipe-dream.
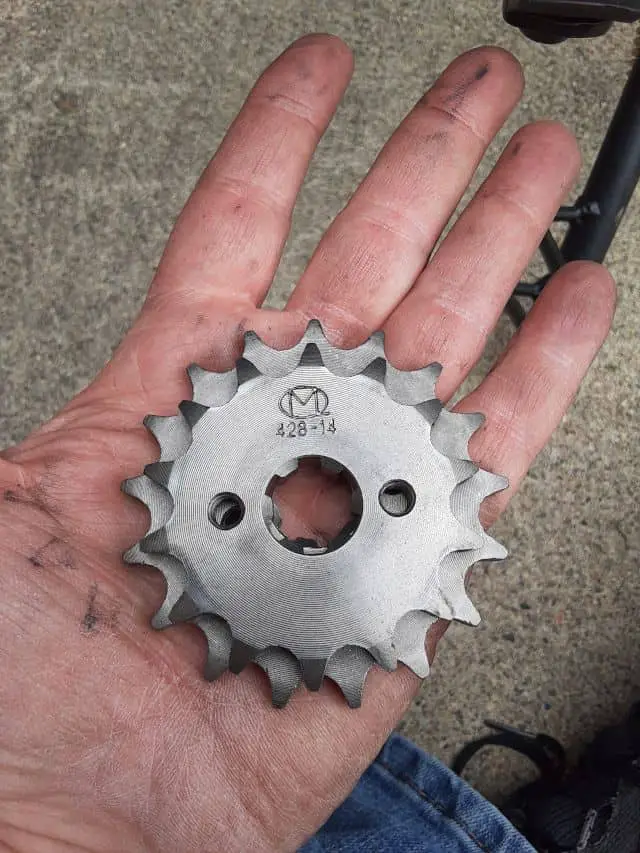
Note, since the 17t front sprocket is a drop-in upgrade for a Grom Clone, these front sprocket steps should apply to all other drop-in front sprocket upgrades. 13t, 14t, 15t, and 16t front sprockets.
Author’s Notice: This page contains affiliate links, for which I may earn a commission by their use. Also, as an Amazon Associate, I earn from qualifying Amazon purchases.
Click For Current 17 Larger Front Sprocket Price.
My Boom Vader Front Sprocket Upgrade Steps:
1.- Motorcycle Safety
- Grom Clone engine cools the to the touch.
- Boom Vader on a level surface, secured against rolling away.
- Garage Safety Steps, PPE, including safety glasses ( Safety Glasses With Readers )
2.- Setup Tools and Materials.
- Socket set for 8mm, 10mm bolts (Sprocket and Sprocket Cover)
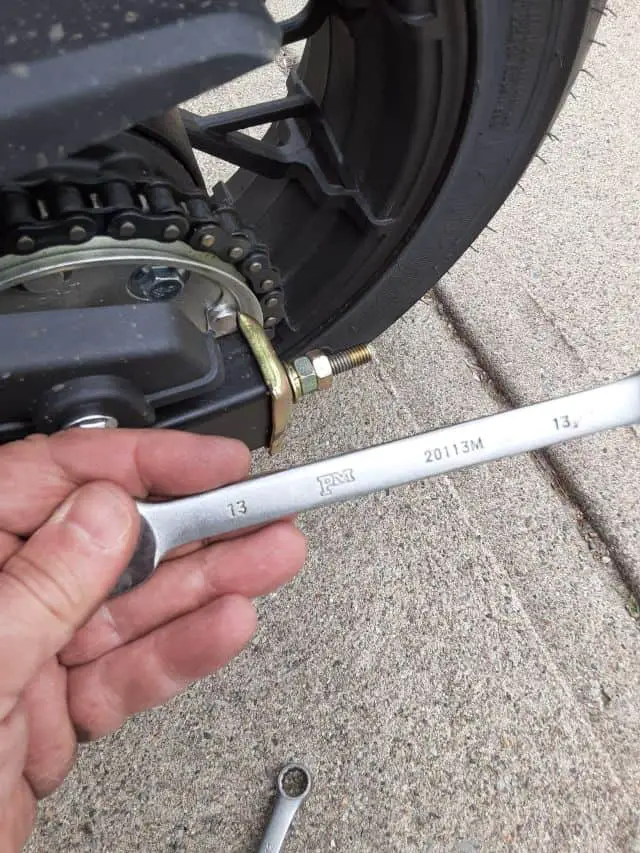
- Wrenches for 13mm, 14mm, and 17mm (Rear Wheel axle and adjusters)
- Blue Thread Locker! The special sauce for all Chonda’s!
- Of course, a new 17t front sprocket for the Boom Vader!!!
FYI: Building My List of Must-Have Tools For Motorcycle Owners
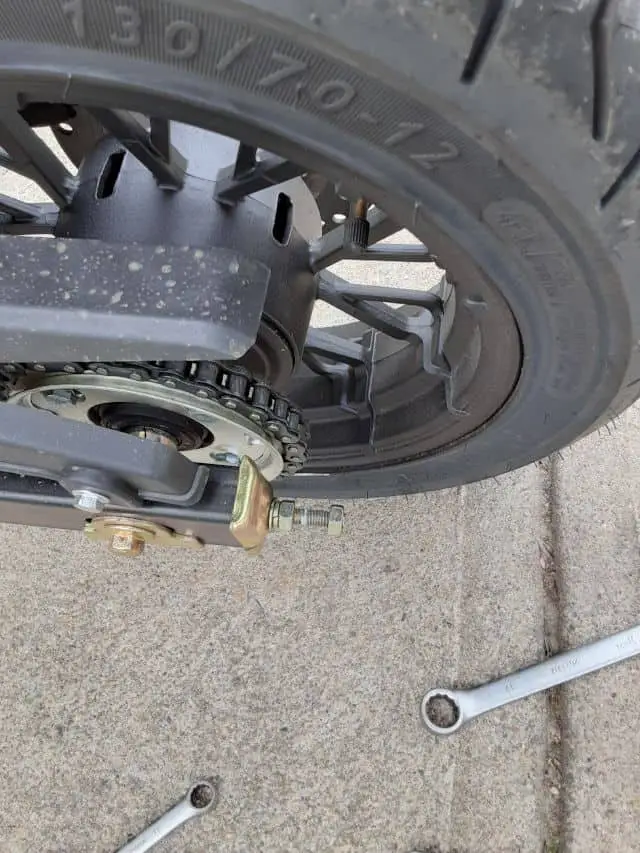
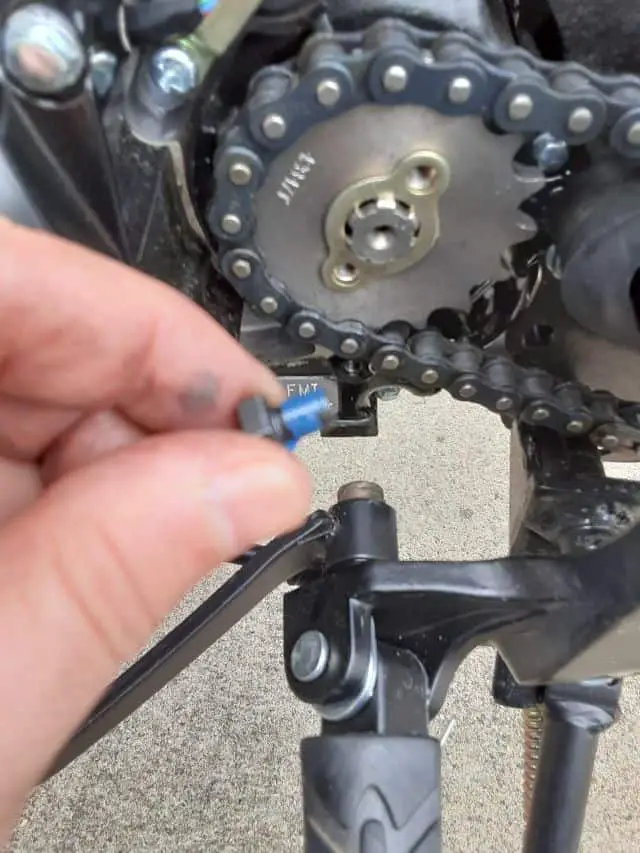
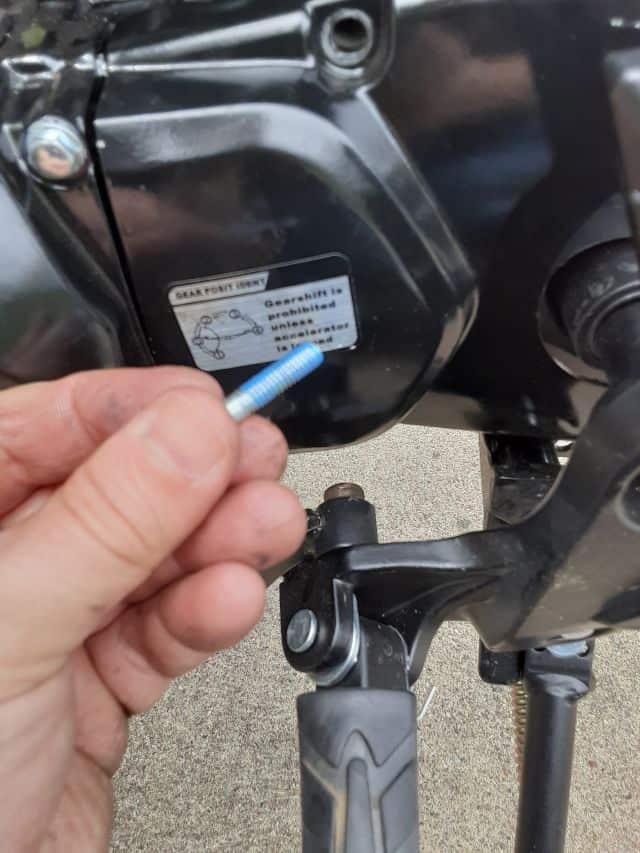
3.- Loosen the rear axle and move the wheel forward.
- Using a 13mm combination wrench, I took both lock nuts and adjuster nuts to the last thread on the axle adjusters.
- I loosen the axle nut with 14mm and 17mm combinations of wrenches.
- With some physical encouragement and common sense to prevent the motorcycle from becoming unstable, I pushed the rear wheel forward and created the slack I needed for the front sprocket change.

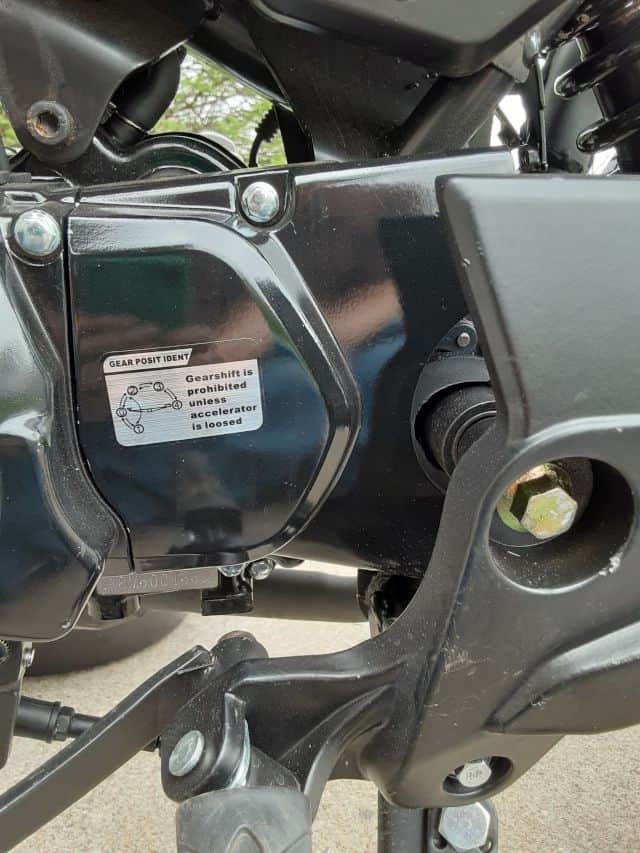
4.- Remove the front sprocket cover.
- I used an 8mm socket to remove both the top and bottom bolts. Be careful, the socket I used was a 12pt socket, and the metal feels “soft.” As a precaution, I have a stripped nut remover on standby.
- Be careful to put the front sprocket cover and two bolts off the side; the paint is easily scratched. So I laid it on a paper towel.
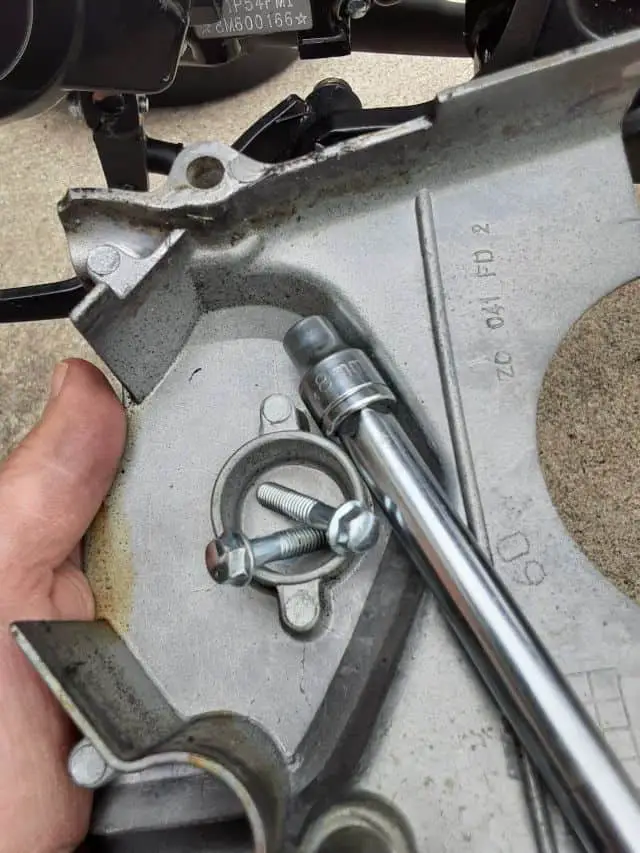
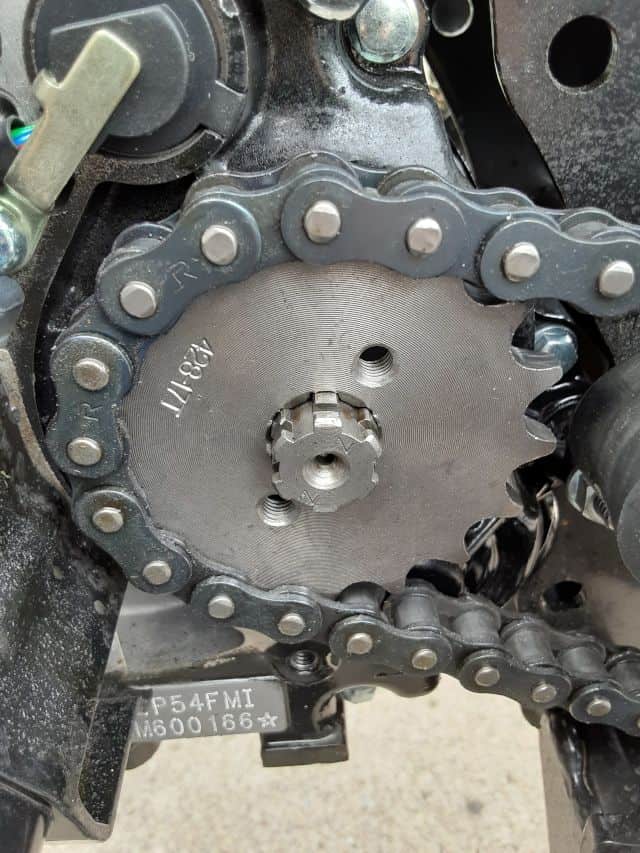
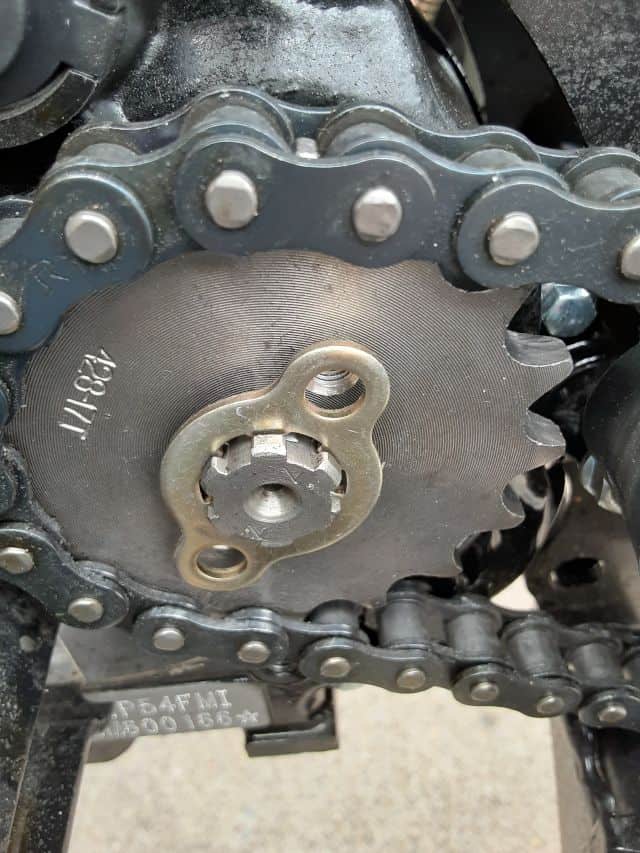
5.- Remove the front sprocket locking ring.
- The Boom Vader, like any Chonda, has a basic front sprocket locking ring.
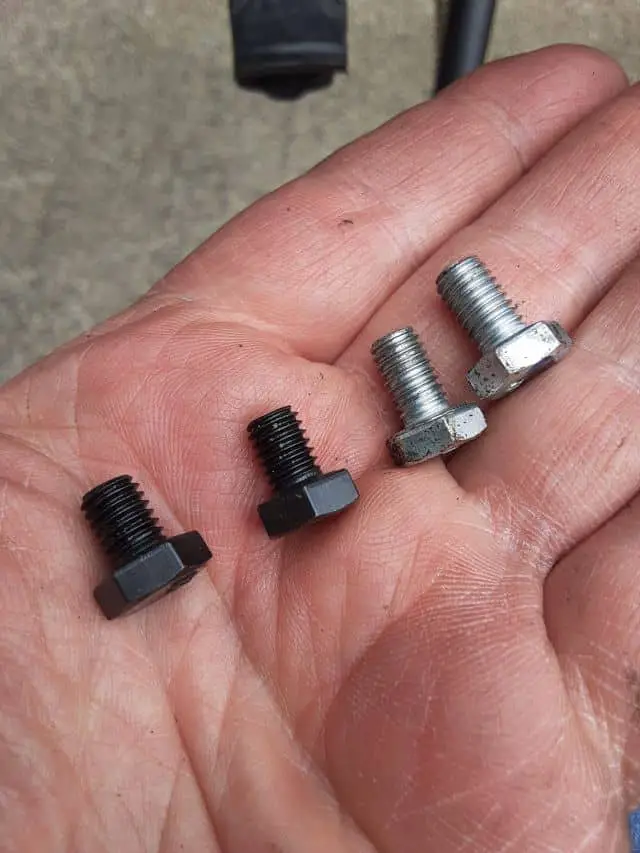
- Using a 10mm socket, I removed both bolts. Again, these bolts felt ‘soft,’ and the front sprocket kit I ordered came with new bolts, so getting rid of the sock bolts.
- Once the bolts are removed, twist the retaining ring till the splines line up, allowing for removing the locking ring. Again, the kit also came with a new locking ring and did not reuse the stock sprocket locking ring.
6.- Remove the front sprocket.
- The chain should come with it as you pull the front sprocket off.
- Once the sprocket is free, undo the chain and let it hang freely.
- Check the front sprocket to see if any broken or worn teeth could indicate the chain’s health.
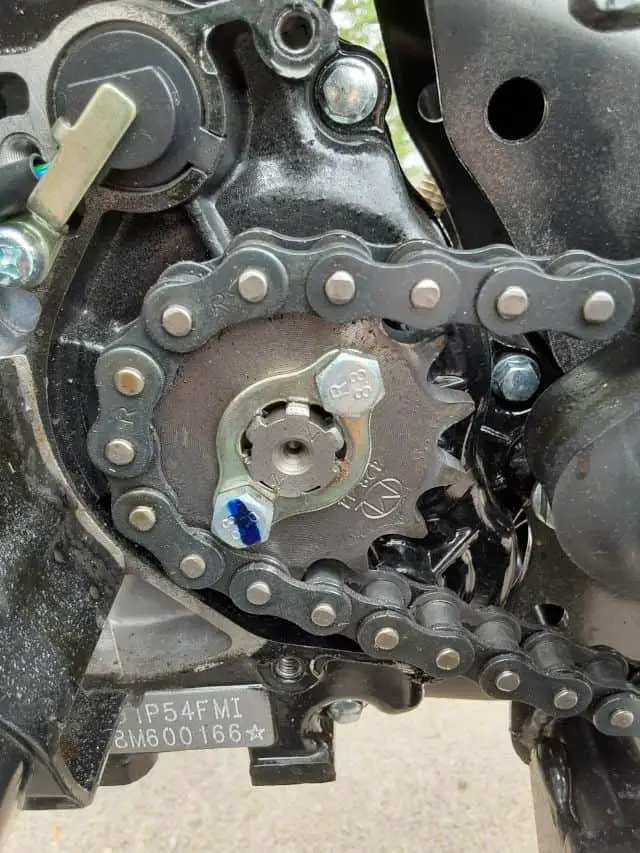
7.- Install the new front sprocket.
- Slip the chain over the sprocket. There might not be room to fish the chain once the sprocket is installed on the engine output shaft. The 17t front sprocket is the case since it’s the largest front sprocket recommended and doesn’t leave much space around it once installed.
- Slide the front sprocket onto the engine output axle.
- Caution, the sprocket might not feel like it fits. It’s OK, the sprocket does not stay fully slid on the axle, and space will be created once the sprocket locking ring is installed.
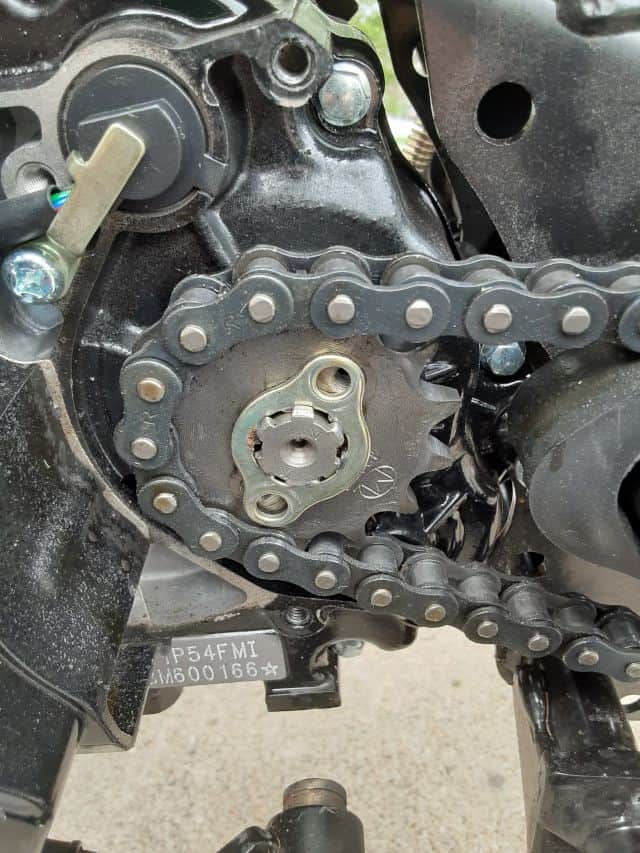
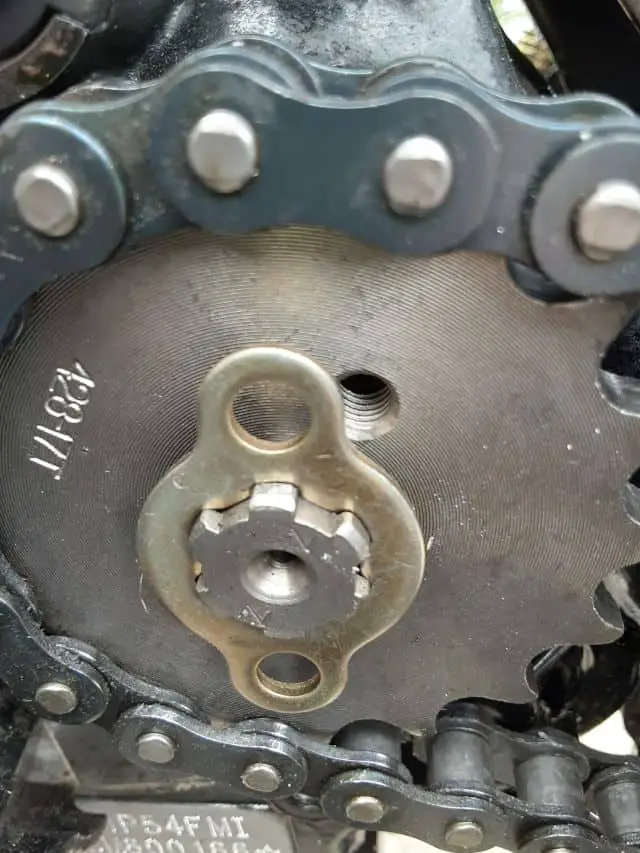
8.- Reinstall the locking ring.
- Line up the locking ring splines to match the engine output shaft and slide on the sprocket locking ring.
- Once on the shaft, there is a circumferential groove that the locking ring rotates in. Get into that groove and line up the locking ring bolt holes with the sprocket.
- Install the locking bolts; remember to use the thread locker!
- When you tighten the front sprocket locking ring bolts, they pull the front sprocket towards you and away from the engine casing. This movement creates more space around the front sprocket, and the chain should be free to rotate.
9.- Reinstall the front sprocket cover.
- Again, stock bolts feel ‘soft’ to me. Go easy with the bolt installation.
- Position the front sprocket cover and reinstall the two bolts.
- Use thread locker.
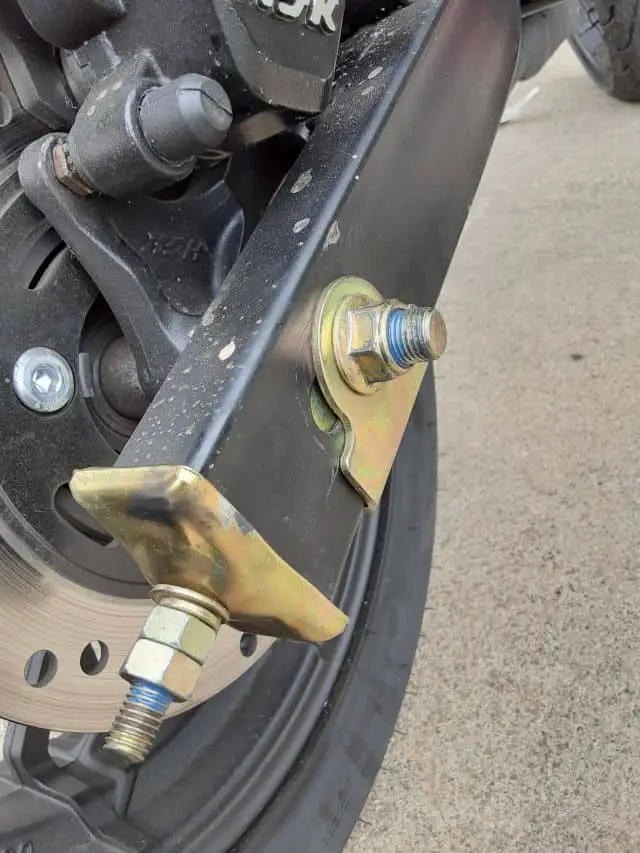
10.- Tighten the rear wheel axle.
- Use the axle tensioners to adjust the rear axle rearward to where you have the correct chain slack. Line up both tensioners to keep the rear wheel center-line.
- Tighten the rear axle.
- Use thread locker!
- Recheck chain slack and wheel alignment.
New Front Sprocket Installed, And My Boom Vader Survived!!!!
The best part about my motorcycle upgrade is getting out and riding! The only actual test of what you did to the bike is to feel it on the open road.
Listen to me, I sound like a hard-core motorcycle rider, and I’m only in my second year. 😀
My Front Sprocket Tips and Observations.
- There will be changes in how the motorcycle behaves from the size difference of the Boom Vader’s stock 14t front sprocket compared to the new 17t front sprocket. Be prepared to take it easy and learn how the bike’s performance changes and be ready to anticipate any of those changes. Stay safe.
- If your chain strikes the lower section of the front sprocket guard, it will hit it more often with the larger sprocket. You might want to be mentally prepared for the clicking noise or make changes to the front sprocket guard to eliminate this noise.
- With a larger sprocket, your top end speed might increase, but with the loss of torque transferred to the rear wheel, you might not be able to accelerate to red line in the highest gear. For this Grom Clone, it’s 4th gear. :/
- I noticed that clicking noise from the front sprocket area has increased. I will be looking to correct this( Update: Typical Grom Clone Chain Clicking Noise, Fixed! )
Grom Clone Front Sprocket Upgrade Ideas
Don’t be married to the new front sprocket( Boom Vader (Grom Clone) Front Sprocket Upgrade Considerations ). I took advice from others who did this upgrade and started with the 17t front sprocket. Just as quickly I changed the front sprocket to the 17 tooth, I can change it to the 16 tooth. Or back to stock if I want to stick to the inner-city and do stunting with my Boom Vader.
The point is that Grom Clones are blank slates for riders to customize to their riding style and personality.
If you changed your Boom Vader or any other Grom Clone, please leave a comment; I would love to hear it. I am still trying to make a mental list of upgrades for my Boom Vader, and I believe the next one will be a carburetor upgrade and exhaust upgrade. Check back!
Ride Safe, Ride Fun!
Click To See My Recommended
Boom Vader Gen 2 Upgrades
Author’s Notice: This page contains affiliate links, for which I may earn a commission by their use. Also, as an Amazon Associate, I earn from qualifying Amazon purchases.
This Grom Clone front sprocket upgrade kit worked well for my Boom Vader. Might want to consider it too.
Click For Current 17 Larger Front Sprocket Price.

Hi I’m Tom, A New Motorcycle Rider and Blog Author.
I am a new rider(Pa Learners Permit at the end of 2020, and I received a Pa Motorcycle License in 2021 after passing a Motorcycle Safety Course).
I bought my first motorcycle, a TaoTao TBR7, at the beginning of 2021 and have been doing upgrades on that motorcycle since.
I added to my motorcycle collection by buying a Boom Vader Gen 2 in 2022, and that Grom-Clone motorcycle has been upgraded by me as well.
I continue to ride my Boom Vader Gen 2 motorcycle as well as my TaoTao TBR7 dual-sport bike.
Read more on my About Me page.
Fun Fact: I’ve only been on one group ride.

Hey Bud I some some questions.
After you put in the 17t sprocket, what was the speed you got at 7,000 rpm’s in 1st gear?
I am really concerned about the high rpm’s
The reason I just got my Boom Vader, replaced the carb, honda grom rubber bushing for rear hub and removed all the smog crap. The only thing I need to do is to add a front motor mount and new battery.
Thanks in advance 🙂
Hi Ron,
My Boom Vader speedometer is reading wrong (told this is a grom clone thing), so I have to use a GPS app to be sure I have an accurate speed. That said, I did a couple top speed runs on my Boom Vader and posted the results here: 17t Upgraded Front Sprocket Boom Vader Top Speed Test.. I was pleased with the increase in speed, but not a highway monster, yet. 😉
Glad to hear the Boom Vader community is growing. Congrats on upgrading that motorcycle, and I’m sure you will be customizing it soon with pain or skins. 😀
Tom