
In my previous post ( Boom Vader Gas Tank Gasket ISN’T Leaking? ), I was pressured by being a cheap Boom Vader owner and lacking replacement parts, and I figured I would do my motorcycle gas tank pinhole repair.
It sounds more dramatic than it is, but I did my own Grom Clone motorcycle gas tank leak repair, and it seems to work too. I figured repairing a motorcycle gas tank was a good DIY project.
Just that, I didn’t know how to fix a hole in a motorcycle gas tank. So this was another learning experience for me.
Before I started taking on this gas tank repair job, I had a few quick questions, and they should be questions you ask yourself if you are doing the same. Have you ever repaired a motorcycle gas tank? My answer is No. Do you know working around gasoline and a faulty repair job can be dangerous? My answer is Yes.
I chose to take on the task of repairing my motorcycle gas tank, but I would suggest you get assistance from a motorcycle mechanic.
Now that is done, read alone and be amused at my work. :p
How To Fix A Boom Vader Motorcycle Gas Tank Leak?
Carefully!
Boom Vader Motorcycle Gas Tank Repair Update!
I ensured I wasn’t working with any gasoline, the motorcycle tank was emptied ( How I Drained My Motorcycle Gas Tank (My Carbureted Grom Clone) ), and any residual gasoline evaporated from what I could tell since the inside was bone dry.
But simply put, I fixed the leak on the gas tank by applying something that plugged the pinhole(s), and created a thick layer of material to preserve the rest of the gas tank’s integrity.
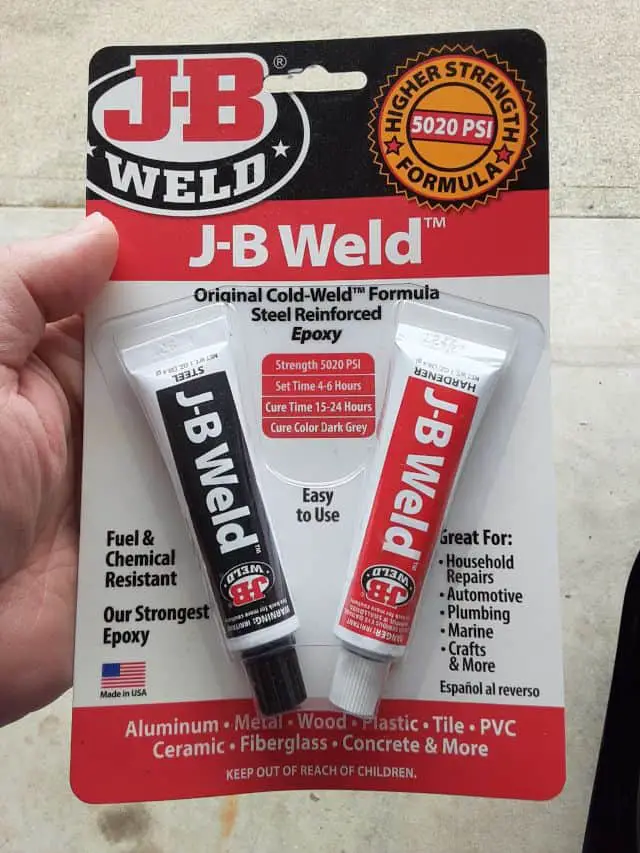
Three words: Jay, Bee, Weld!
Author’s Notice: This page contains affiliate links, for which I may earn a commission by their use. Also, as an Amazon Associate, I earn from qualifying Amazon purchases.
J-B Weld is working for me! Click For Current Prices!
Can You DIY Repair A Small Motorcycle Gas Tank Leak?
It looks like I did. It took time, which I had since I had no second Boom Vader gas tank available.
DIY Motorcycle Gas Tank Repair Cost?
I used some supplies I had around my garage, but the real cost, I guess, is the actual J-B Weld tubes. So I would proudly say I fixed my motorcycle leaking gas tank for under ten bucks!
Enough bragging. 😀 So proud of myself. I had no warranty replacement options( tank supplies are exhausted ). I didn’t want to go to a radiator repair shop that does tank repairs or spend even more money buying a genuine Honda Grom replacement gas tank.
And if you are reading this, I’m sure you, too, must weigh your options.
My Boom Vader Motorcycle Gas Tank Leak Repair Steps.
1.- Motorcycle Garage Safety First!
- I worked only a completely empty gas tank. No gasoline, or fumes even.
- A fire extinguisher is nearby.
- I worked in a well-ventilated space and left my garage door open.
- Used Safety Glasses! ( Safety Glasses With Readers. )
- I performed within my limits, and if you cannot, you should get professional help.
FYI: My Motorcycle Garage Safety Rules – FAQ
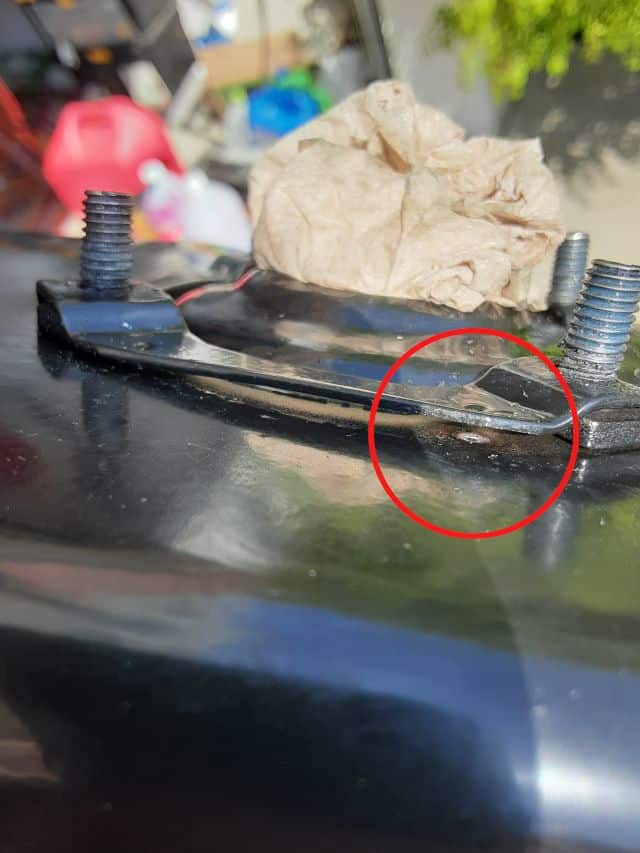
2.- Identified The Gas Tank Leak Location.
As I posted before ( Why Is My Motorcycle Leaking Gas? ), I initially thought I had a gasket leak about the gas level sender but later found I had pinholes from broken spot welds in the gas tank.
I stepped outside into the bright Sun. I found the pinholes by blocking external light from getting into the gas tank, holding the gas tank upright, and peaking in the fill hole area, looking for light entering the gas tank.
Do Not Try This At Home. I used safety glasses and worked on a bone-dry tank, but in hindsight, the possibility of getting something in my eye was real. Maybe in the future, I could use a camera to look inside the gas tank, but hoping there is no “next time.”
Now I know where the pinholes were; the leaking area was all within reach of my intended repair method. I would stick my finger in the hole and swish it around <Insert Bad Joke Here>.
3.- Prepare The Motorcycle Gas Tank Repair Area For Bonding.
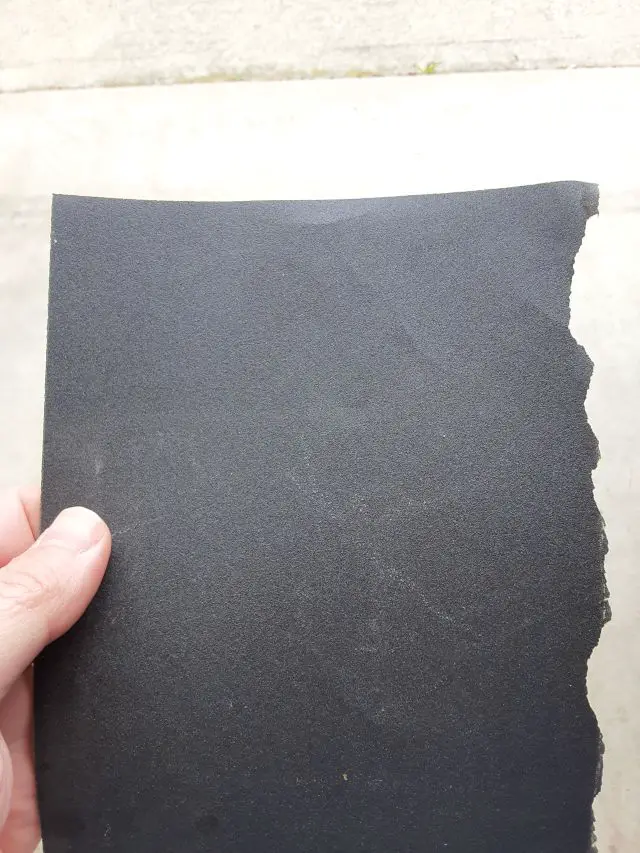
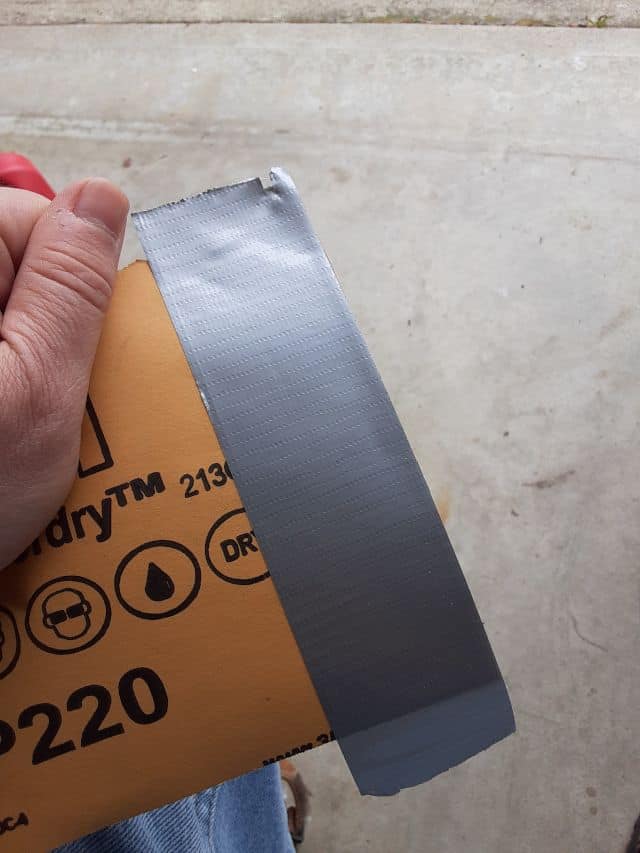
I took the sandpaper and put duct tape on the back. This way, the sandpaper didn’t shred being used to prep the surfaces for bonding.
Tearing thin strips of duct tape-backed sandpaper, I worked the sandpaper into the inside bottom of the gas tank and sanded the areas as best I could.

4.- Clean The Motorcycle Gas Tank Repair Area.
After sanding, there is a possibility that sand, metal parts, and whatever they used to coat the inside of the Boom Vader gas tank are now dust particles in the tank.
I shook and tapped the gas tank to get rid of any loose particles from the tank until the gas tank was cleared of particles. I cleaned the repair area surfaces again.
I used denatured alcohol on a rag to wipe down the inside of the gas tank where I was planning on using the J-B Weld. After a few passes(I just stuck the rag inside the hole and circled a couple of times<Again, Insert Bad Joke Here>, and the rag came out clean.
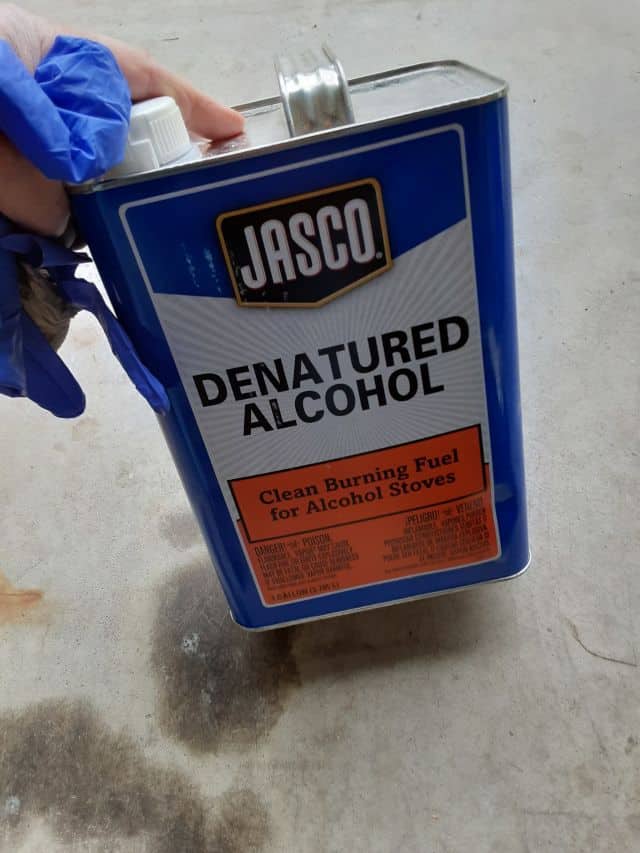
Caution: It seems I heard J-B Weld doesn’t like alcohol. Allow for the alcohol to completely dry before using J-B Weld. Unsure about this, but having a clean and DRY surface sounds like a good setup for a solid bond.
5.- Patching Pinholes And Fixing Weak Gas Tank Areas.
I followed the directions on the J-B Weld package.
- Used a disposable mixing surface(coffee can lid) and mixing tool (a stick).
- Squeezed out equal lengths of the compound from both tubes.
- Stirred and mixed the compounds into one continuous color mixture.
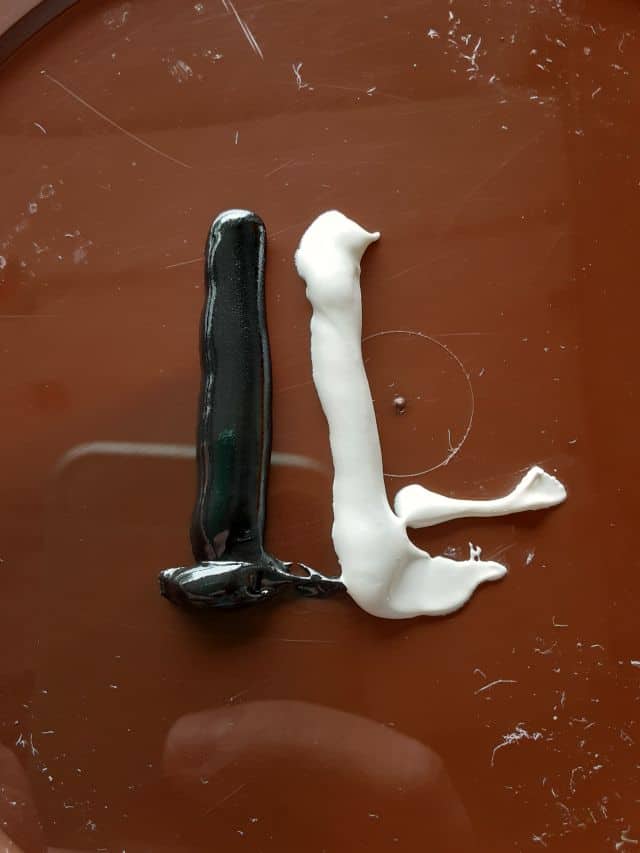

Now ready to rock and roll!
Using a gloved hand, I scooped up the J-B Weld mixture onto a finger, reached inside the hole, and lay it down on the prepped metal. I pushed hard, hoping if any holes would allow the mixture to squeeze through, it would. After getting a good, continuous coating on areas of concern, I let the compound ‘set’ for a long time—several hours.
I did a total of three applications of J-B Weld over the repair area.
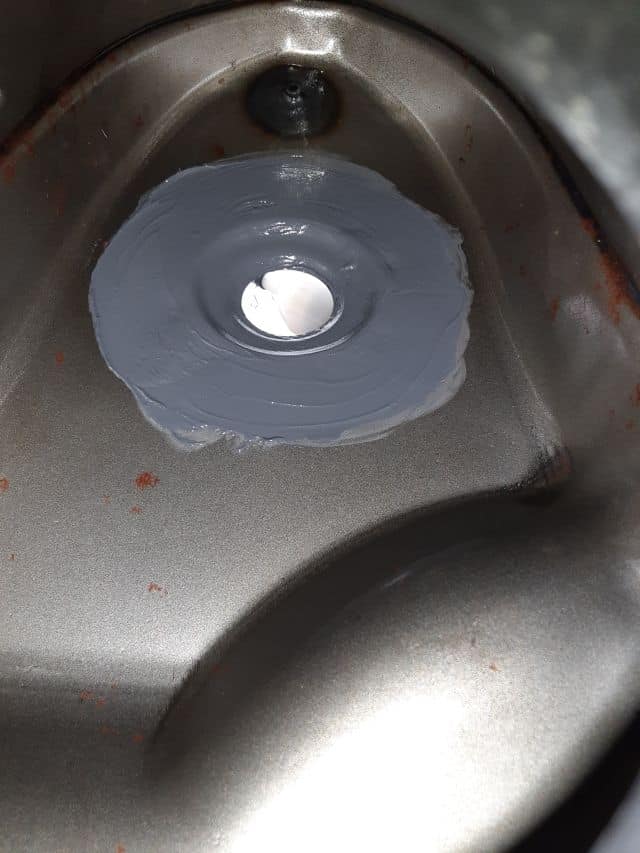
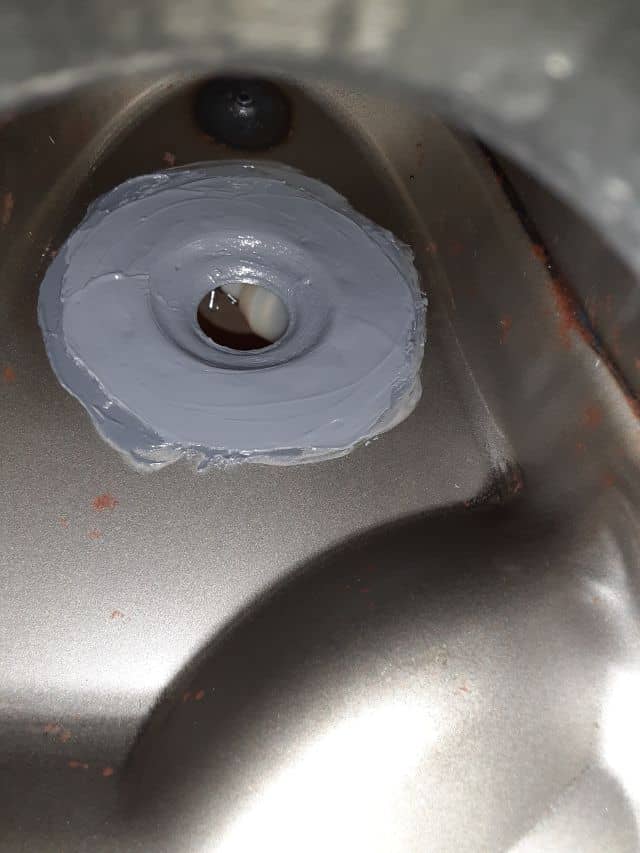
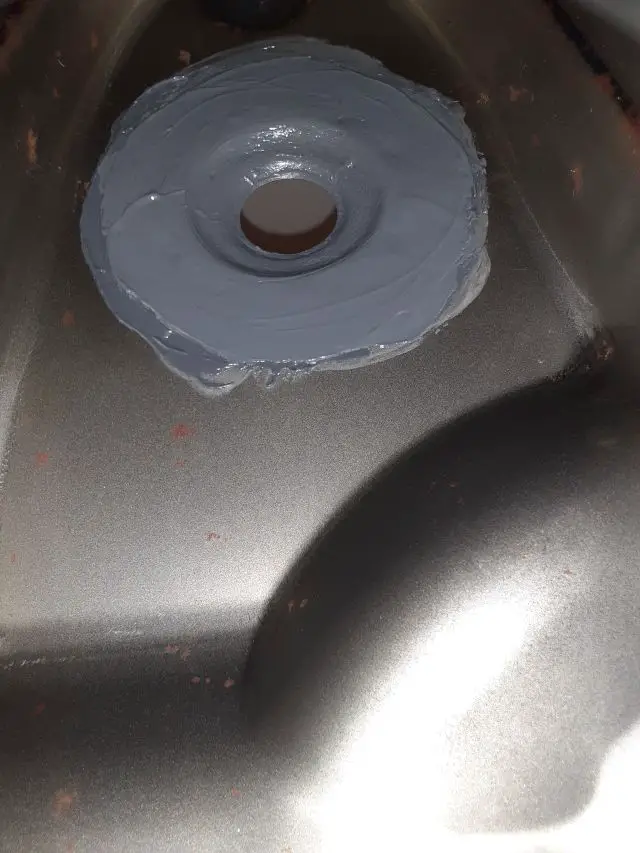
I didn’t rush this job and let each application of J-B Weld set, and the final application fully cure before testing with gasoline(cure time is 15-24 hours per instructions).
Look at the photos; I layered it on thick. 😉
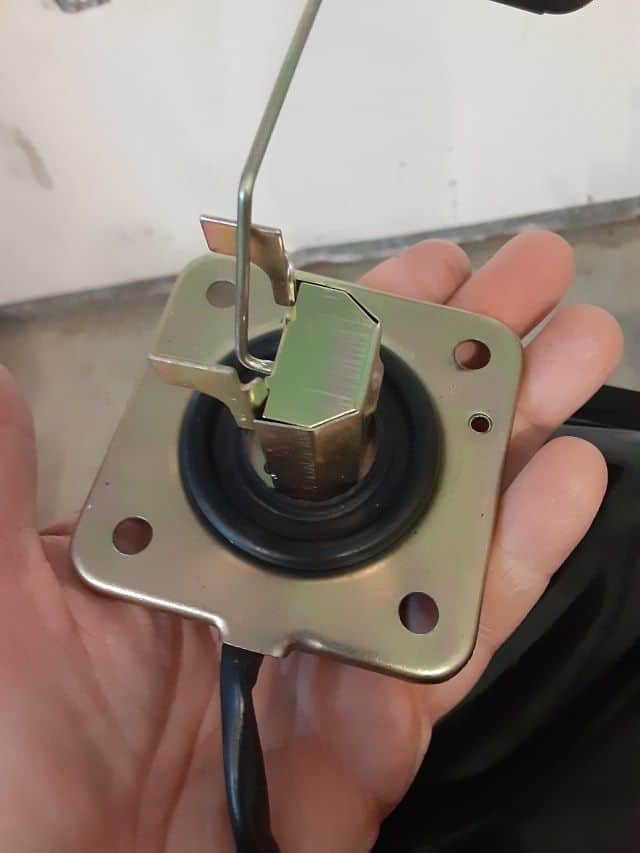
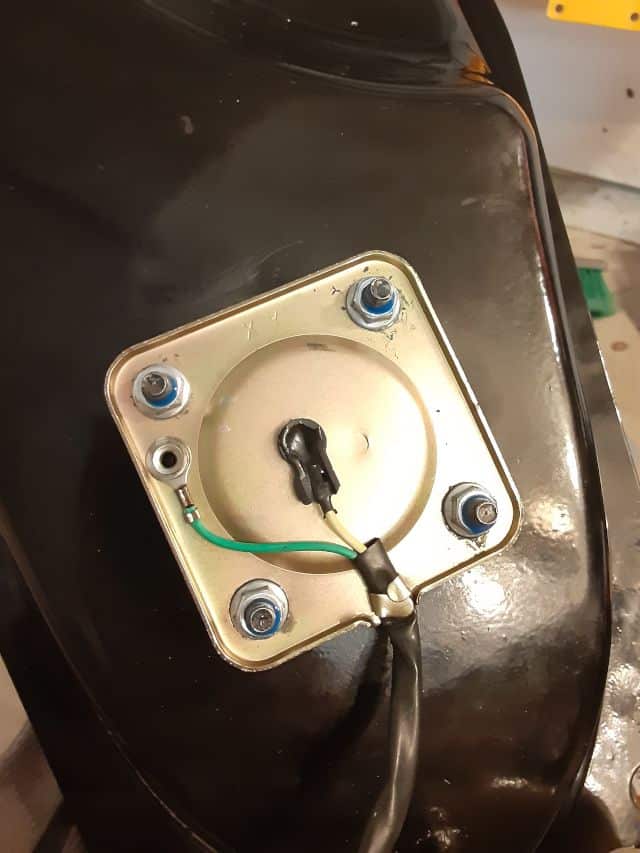
6.- Reassembled The Gas Tank Level Sender Unit.
I reused the original gasket and tightened down the sender unit flange to ‘snug,’ I used a thread locker. Conda Magic Fluid!
7.- Reinstalled The Motorcycle’s Gas Tank.
I was so confident the leak repair job was effective that I figured I would install the Boom Vader’s gas tank before leak testing it. Although still worried about the sender unit gasket.
Trivia info, yes, there were missing parts from the original installation. Where I should have had two front mount bushings(per diagrams I found), I only found one set.

This Is The Chonda Way!
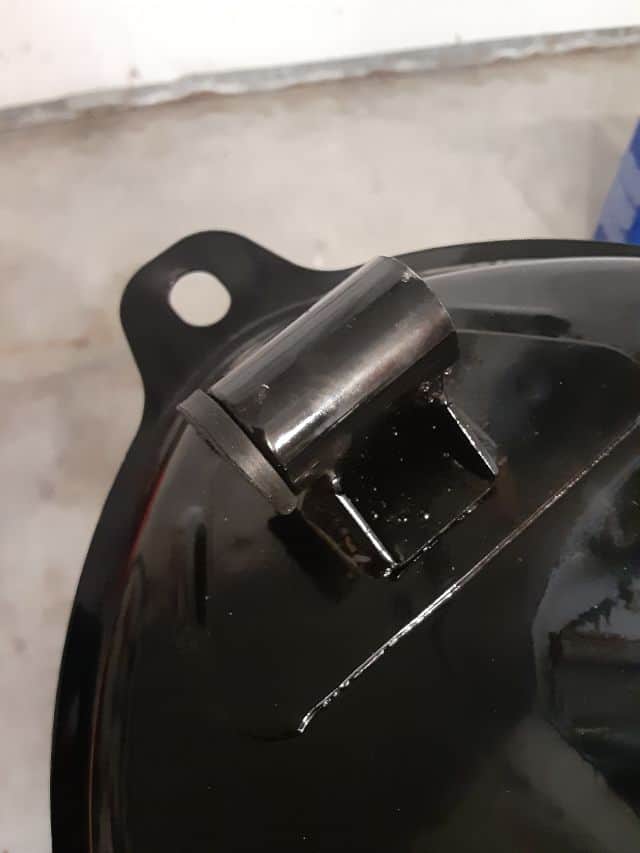
I kept the original fuel filter, the last chance for this OEM part to do its job before I finally replace it. Previous post about the filter: Boom Vader Motorcycle Gas Tank Rust? No Sweat.
Again, thread locker is your friend!
8.- Motorcycle Gas Tank Repair Leak Check Time!
After checking lines, and connections, time to fill up the gas tank.
Now emptying the gas tank isn’t hard, but I admit I was too confident with the gas tank repair. I dumped a bunch of gasoline into the tank and waited.
I wiped down surfaces using dry paper towels and checked for gas leaks. Nothing!
Tip: leaving motorcycle body panels off helps with the leak checking process. I wasn’t in a rush to reassemble the whole bike, too many screws. :/
Final Boom Vader Gas Tank Repair Outcome!
It worked!!!! (NOTE: It didn’t work long: Read About My Leak Repair Results)
It seems I learned how to fix a hole in a motorcycle gas tank!
No leaks. I let the bike sit overnight with no leaks. I rode started and stopped the cycle. No leaks. I jumped up and down on the seat. Again, no leaks!
Plan A worked ( Boom Vader Gas Tank Gasket ISN’T Leaking? 🙁 )!
This Motorcycle Gas Tank Hole Repair Refection.
I didn’t know that Grom Clones were notorious for gas tank leaks, and I didn’t realize that the spot welds tend to fail to leave pinholes in the tank that got worse with time.
Had I known, I might have taken the gas tank off immediately and used a tank sealing product(this might have helped with the rust I found, too [ Boom Vader / Grom Clone Assembly Problems & Concerns ] ) or had my gas tank welds strengthened with a professional motorcycle gas tank repair.
No matter how 20/20 hindsight is, I had to deal with the problem after it was found. In the typical Chonda Way, I went with a cheap DIY solution.
If you have any experiences with motorcycle gas tank leaks, Boom Vader, Grom Clone, or any motorcycle, please share your experiences in the comment section below.
Ride Safe, Ride Fun!!!!!
Click To See My Recommended
Boom Vader Gen 2 Upgrades
Leaking Motorcycle Gas Tank UPDATE!!!!
My J-B Weld patch didn’t hold on my Boom Vader’s motorcycle gas tank. It failed after a couple days, and started leaking from the bottom again. 🙁
Read more here:
My Boom Vader Gas Tank Is Leaking From Bottom, Again!?!
Stock Boom Vader Gas Tank Leak UPDATE!
I was thinking about cleaning out the interior of my Boom Vader’s gas tank and retrying to seal it again, but I was losing ride time. I gunked up the inside of the gas tank with the J-B weld and figured I made it more challenging to seal it myself.
I wanted to try out one of those DIY gas tank sealing kits you read online.
So I went with another option, took my little motorcycle’s gas tank down to my local mechanic, and asked for a cheap and quick solution.
I did the nuclear option on my little bike:
Boom Vader Gas Tank Repaired Again(Now Welded)!

Hi I’m Tom, A New Motorcycle Rider and Blog Author.
I am a new rider(Pa Learners Permit at the end of 2020, and I received a Pa Motorcycle License in 2021 after passing a Motorcycle Safety Course).
I bought my first motorcycle, a TaoTao TBR7, at the beginning of 2021 and have been doing upgrades on that motorcycle since.
I added to my motorcycle collection by buying a Boom Vader Gen 2 in 2022, and that Grom-Clone motorcycle has been upgraded by me as well.
I continue to ride my Boom Vader Gen 2 motorcycle as well as my TaoTao TBR7 dual-sport bike.
Read more on my About Me page.
Fun Fact: I’ve only been on one group ride.
