
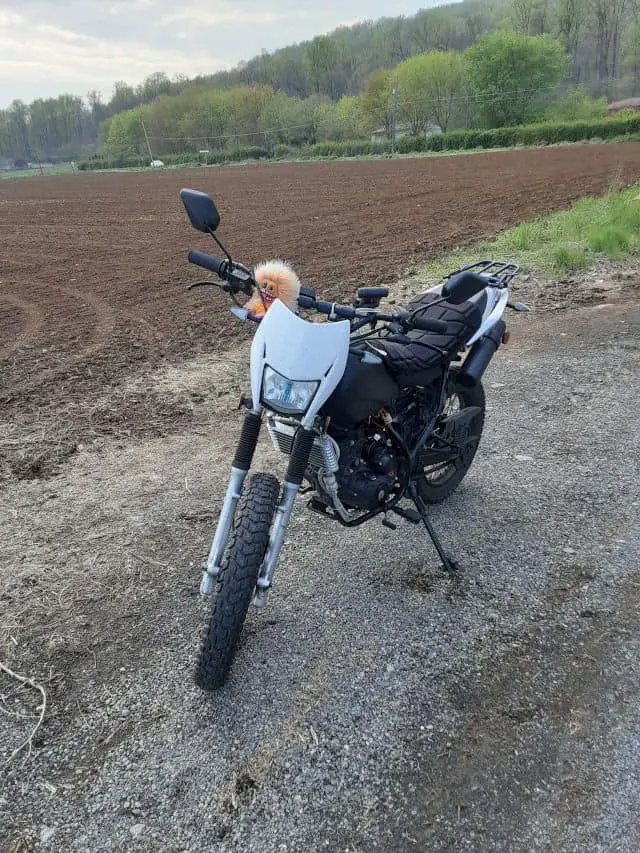
While riding, I looked down and saw my motorcycle speedometer was not working. Like many TaoTao TBR7 owners (like RPS Hawk 250 Owners and Raven 250 owners), the first thing that failed on my motorcycle was the speedometer.
How To Fix A Speedometer On A Motorcycle?
This speedometer problem wasn’t hard to figure out once I understood how Chonda motorcycle speedometers tend to fail. In my motorcycle’s case, the speedometer cable is broken, which is an easy fix. Just needed the right tools, replacement part, and know-how.
How I Fixed My Motorcycle Speedometer.
Remember, the first thing I did was determine the cause of my motorcycle’s speedometer failure. My case was the cable. You can read how I did this in a previous post: Motorcycle Speedometer Stopped Working.
Also, as expected, my motorcycle odometer was not working as well.
Quick Review of steps I took to fix my bike’s speedometer:
- Get access to both ends of the speedometer cable.
- Remove broken speedometer cable.
- Replace with new speedometer cable.
- Reinstall speedometer cable ends.
- Test The Speedometer.
Author’s Notice: This page contains affiliate links, for which I may earn a commission by their use. As an Amazon Associate, I earn from qualifying Amazon purchases.
Getting Access To Top Of The End Of My Speedometer Cable.
I had to access the bottoms side of the TBR7’s dash, so the headlight assembly had to be removed(Covered removing the headlight in another post: TBR7 LED Headlight Bulb Upgrade). Quick removal of the side bolts (Yes, I use a magnetic parts tray to prevent losing small parts like these. Click for current prices: Magnetic Parts Tray).
Moving the headlight assembly forward, I carefully disconnect the headlight wire connector. Safely put the headlight to the side.
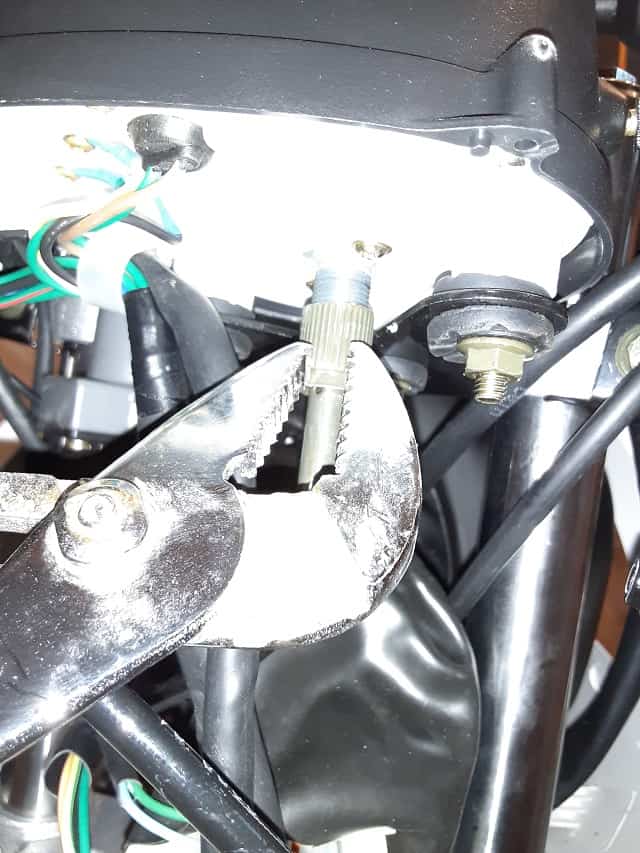
Once the motorcycle headlight is off ( A good time to Upgrade the Motorcycle LED Headlight Bulb ), you can trace the speedometer cable housing up to the bottom of the dash, right behind the speedometer. There is a grooved nut holding it on, which I had to use pliers to remove. Gently loosen the nut and pull the cable housing out. Now you will see the end of the speedometer cable.
Proof The Speedometer cable Was Broken.
While holding the end of the speedometer cable housing, keeping fingers safe, I slowly rotated the front wheel. I was looking for the cable to turn in sync with the wheel turning, and mine did not. I had a broken speedometer cable. No surprise here.
I was surprised by how easily I could have confirmed if the speedometer cable was broken by just pulling on the end earlier. Up to this point, I had deduced it was the cable, low-hanging fruit for broken motorcycle speedometers.
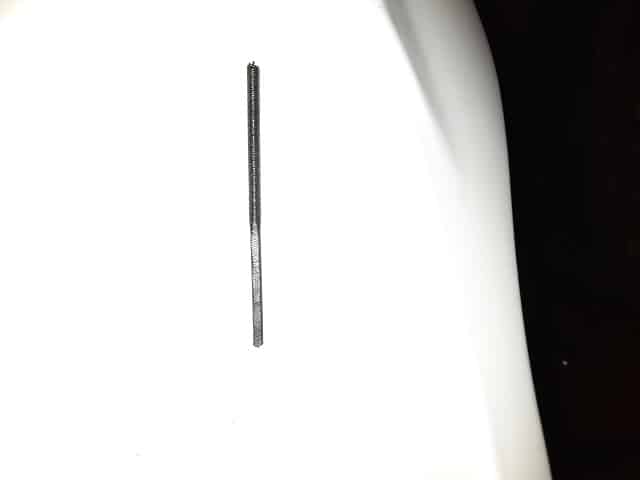
I did pull the speedometer cable end, and it came out. I was holding the broken section. Yes, it’s broken, duh. Better a broken speedometer cable than a broken speedometer, I consoled myself.
How Do I Fix My Motorcycle Speedometer Cable?
Found fixing my speedometer cable a simple fix, in hindsight, just a process of removing the broken portion and installing its replacement. What tiny steps in between.
Getting Access To Bottom End Of Speedometer Cable.
I needed access to the TBR7’s speed sensor hub.
Yes, again I jacked up the motorcycle using my superb motorcycle lift jack, ensuring the front wheel was off the ground.
I removed the lower wheel. Again, there are also here small parts that can be lost(so I use my magnetic parts try). The axle nut and hub spacer(found on the opposite side of the sensor hub), yes, these too, go into my magnetic parts tray.
Once the front axle is removed, I could hold the speed sensor and remove the bottom end of the speedometer cable housing. Just like the top, there is a grooved nut securing the end of the speedometer cable. Again, I carefully used pliers to turn the nut and disconnect the cable.
The ends of the speedometer cables look very different. Once the top and bottoms of the cable housings are removed, the top end has a pointy square appearance. In contrast, the bottom end that goes into the speed sensor has a metal hub that looks like the top of a flat-head screw.
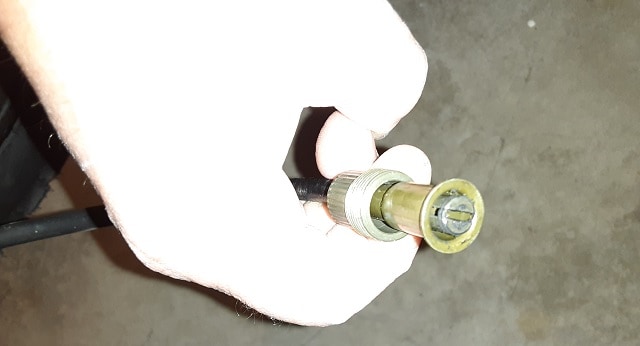
Once the cable housing was disconnected, I pulled the bottom end of the speedometer cable out and could see the condition. The cable and lube appeared very ‘dirty’; I wondered if this is a factor in its early failure. The good news is the speedometer might be OK, and just the cable is broken. Now what comes to mind is, How do I fix my motorcycle speedometer? Is it as easy as just replacing the cable with a whole one? Replacing the cable is the direction I was taking this repair till I found out something else wrong.
Speedometer Cable Removal Note: in hindsight, it appears possible to remove the bottom section of the speedometer cable without removing the front axle and speed sensor hub. It just seemed more manageable to remove the front wheel to me at the time. Also, to initially test the speedometer, I had the wheel up originally.
Time To Fix My Speedometer, New Cable And Test.
The directions for sizing, cutting, and crimping the new speedometer cable are basic. What I did to prevent losing a finger or an eye. First Safety glasses!!! Only have two eyes for life; protect them.
1.- Measure The New Speedometer Cable Vs The Old Cable.
I had all the broken old speedometer cable, so I laid it out, measured the new cable length.
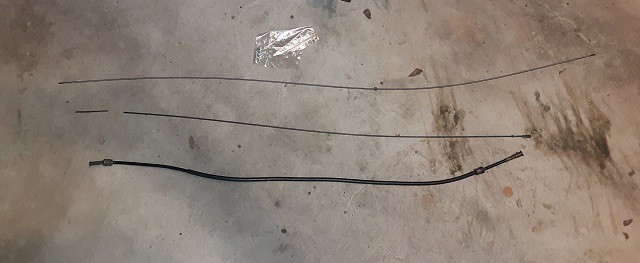
2.- Trim The New Speedometer Cable.
Trimmed the new Speedometer Cable to size. Now the new speedometer cable is the same length as the original cable.
NOTE: only cut the round end, not the ‘square’ end. The ‘square’ end goes into the speedometer, and the rounded end will have a crimped section added.
3.- Position The Speed Washer On The Cable.
I ensure the washer was first, then inserted the cut end of the new cable into the new end piece that matched the old speedometer cable end. The flat-head screw type, I called it.
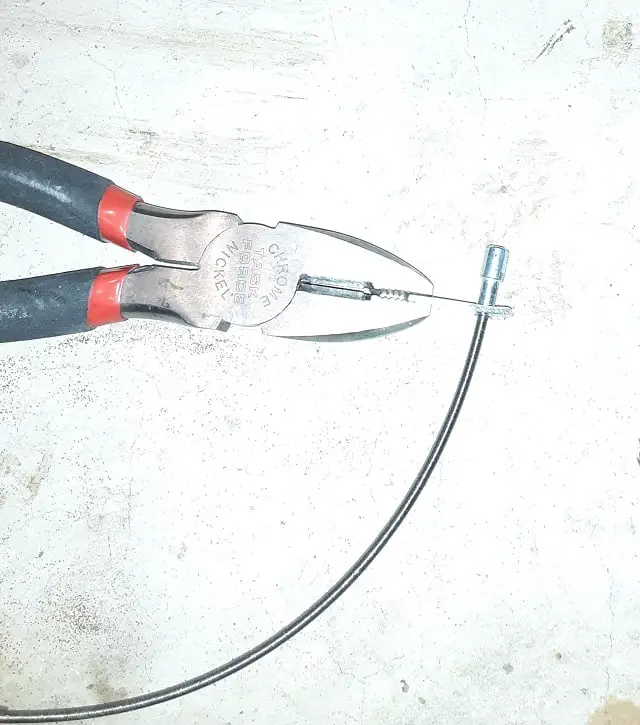
4.- Setup To Crimp The New Speedometer Cable End.
The idea is to use the “U-shaped” metal piece to smash/crimp the new fitting onto the cable end. I was concerned with the ‘smash’ part, so I held it with pliers instead of my fingers for safety.
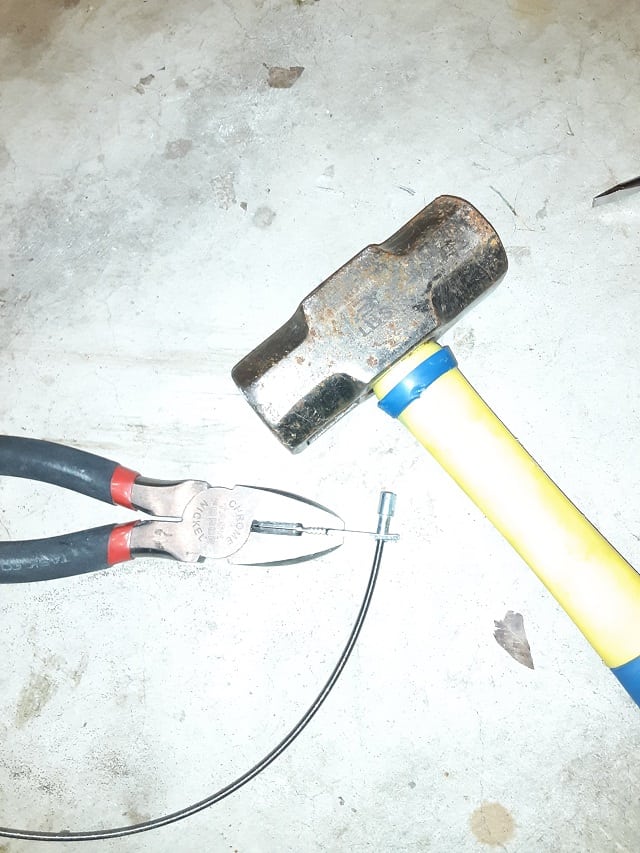
5.- Prepare for Cable Whacking.
I lined everything up on my garage floor. The washer on cable, cut cable end inserted into the metal fitting, crimper(U-shaped piece) lined up 90degress from the floor, and a small maul.
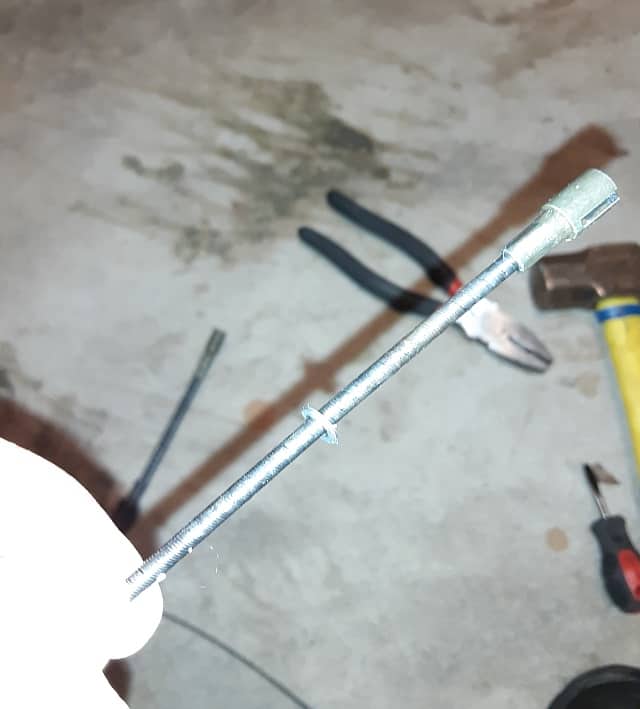
6.- Whack, Whack.
Two Whacks, 1 with crimp lower on end fitting, and the second one moving the crimper midway. The crimper was destroyed. I was surprised I got to whack it a second time.
7.- Install The New Motorcycle Speedometer Cable
Now I have a new Speedometer cable and time to clean the speedometer cable housing.
I took the new cable and dry-fitted it into the speedometer cable housing. I tested the ends in the back of the speedometer and the speed sensor. The cable fits perfectly.
The cleaning part. I took out the new cable and wiped it off. Then, reinserted and removed to clean it again. I wanted to remove as much ‘gunk out of the cable housing as I could. Once satisfied, I used white lithium grease on the cable and reinstalled it for hopefully the last time.
I reconnected the upper portion of the cable, carefully snugging down the upper nut. I then installed the lower section of the cable into the speed sensor. Again, gently snugging down the lower nut.
NOTE: I live by a blue thread-locker; I did not use anyone the speedometer cable. I thought it could get inside the housing and prematurely break the cable.
Once the front wheel was installed, I spun it by hand. The speedometer needle jumped. It looks like a success. I soon had the headlight assembly back on, and I was out test riding the motorcycle.
Fixed My TBR7 Motorcycle’s Speedometer!!!
Current prices: Motorcycle Speedometer Cable Kit
Fixed The Speedometer On My Motorcycle Completed!
I’m unsure about the use of lithium grease on the speedometer cable. So leave feedback if you tried something different. I am considering changing over to a digital dash with a light-up speedometer and tachometer. If you have upgraded, please leave a comment on how well it went.
Ride Safe, Ride Fun.
Click To See My Recommended
TBR7 Upgrades
In Defense Of The TBR7 Motorcycle.
After investigating why my TBR7 motorcycle speedometer is not working, I found that this is a common occurrence for not just the TaoTao TBR7 but many motorcycles.
If a motorcycle doesn’t have an electronic speedometer, it probably has the more common front-wheel mechanical speedometer. A sensing cable converts the front wheel RPMs to a twisting cable’s RPMs, and the speedometer has a counter mechanism that converts the cable’s RPMs to motorcycle speed indications.
The motorcycle speedometer cable flexes and rotates, and it can build up heat and wear out. So having your speedometer not working on your motorcycle can be a common occurrence. Not something specific to the TaoTao TBR7 or Chonda Cousins like the Hawk 250, or Brozz 250, etc.
If you are motivated, you can make changing your speedometer cable part of your regular maintenance.
I feel I did an excellent job with buying a better after-market speedometer cable and a good job working on cleaning out the speedometer jacket and lubing the inside. So my motorcycle speedometer will have a long life working as it should. Please tell me what you think in the comments below.

Hi I’m Tom, A New Motorcycle Rider and Blog Author.
I am a new rider(Pa Learners Permit at the end of 2020, and I received a Pa Motorcycle License in 2021 after passing a Motorcycle Safety Course).
I bought my first motorcycle, a TaoTao TBR7, at the beginning of 2021 and have been doing upgrades on that motorcycle since.
I added to my motorcycle collection by buying a Boom Vader Gen 2 in 2022, and that Grom-Clone motorcycle has been upgraded by me as well.
I continue to ride my Boom Vader Gen 2 motorcycle as well as my TaoTao TBR7 dual-sport bike.
Read more on my About Me page.
Fun Fact: I’ve only been on one group ride.
