

My previous post(Bought A Boom Vader; Now What Do I Do?) was about what to do to the bike when you get it. First concerns of this Grom-Clone bike is wondering is there a problem with the Boom Vader Reliability?
Steps to take on the first day of assembly to ensure the Boom Vader motorcycle is a reliable ride. This post covered steps for the break-in period. Soon afterward, you will want to do upgrades, and when planning motorcycle upgrades, you should include these reliability upgrades.
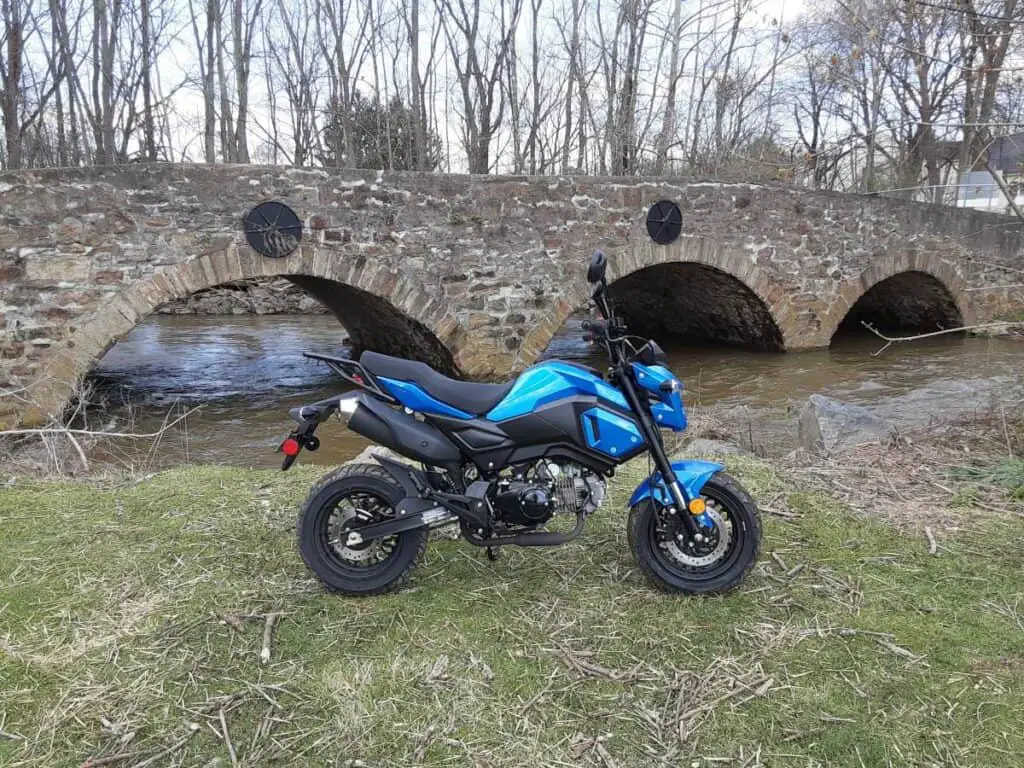
The Boom Vader 125cc motorcycle is excellent and reasonably reliable if you ride it how it was meant to be ridden. But we don’t do that; we want to do performance upgrades to the Boom Vader, but before we do that, let’s cover my recommended Boom Vader reliability upgrade parts list you should be working on.
This upgrade list is based much on my experience and the experiences of others whose mistakes I want to avoid making. This list is upgrade advice I would give myself when I buy the next Grom-Clone, especially if it’s a Vader motorcycle.
FYI: Finding Boom Vader Parts isn’t a challenge, Grom-clone are popular and some real Honda Grom parts fit on these bikes. Have fun!
Boom Vader Reliability Upgrade #1: Battery Tender.
Let’s face it, almost every prospective Boom Vader knows the reputation of the stock battery and asks, What is the Boom Vader battery life expectancy?
With some making the joke, the battery comes dead on day one.
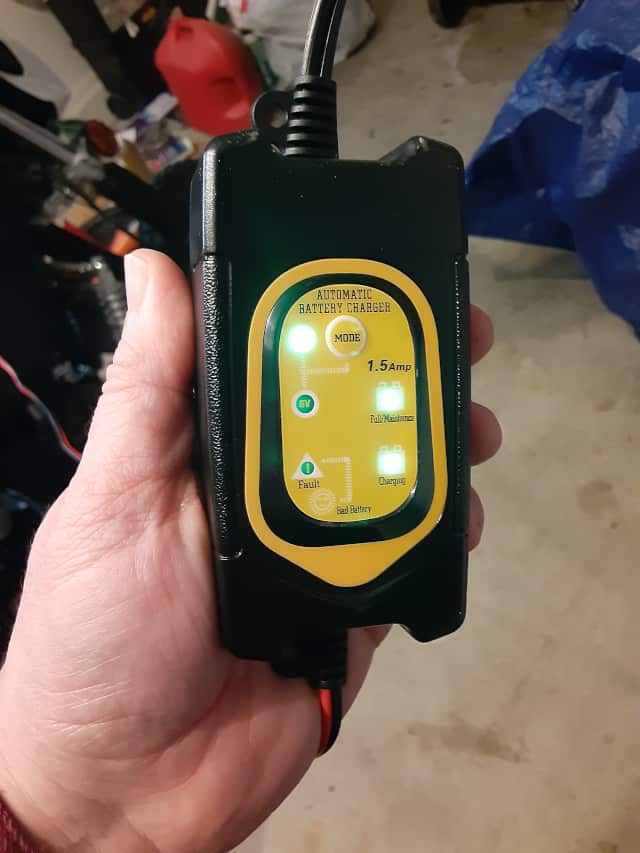
The truth is, based on my experience; the stock battery needs a battery tender to charge it when the motorcycle is not being ridden constantly.
The stock battery in my Boom Vader is now in year two, and it still cranks the engine like on day one, and the only reason is the battery tender.
So first upgrade for your Boom Vader is to install a battery tender. From the first day you install the battery, it wants to die, and having a battery tender installed on your motorcycle will help extend the battery’s life expectancy.
Stay away from ride time, and have your bike ready at a moment’s notice to go out and enjoy the road.
Get a motorcycle battery tender, as I did: Motorcycle Battery Trickle Charger Installed (Boom Vader)
Boom Vader Reliability Upgrade #2: Engine Mount Bolts.
I didn’t follow the advice about replacing the Boom Vader’s engine mount bolts. It was an easy upgrade, and I should have done it as soon as I started pushing the bike harder after the break-in period.
One of my engine mount bolts broke, leaving only one holding the engine in place. If not for the one remaining bolt, it would have been a long walk home, pushing a dead motorcycle while dragging the motor. Glad
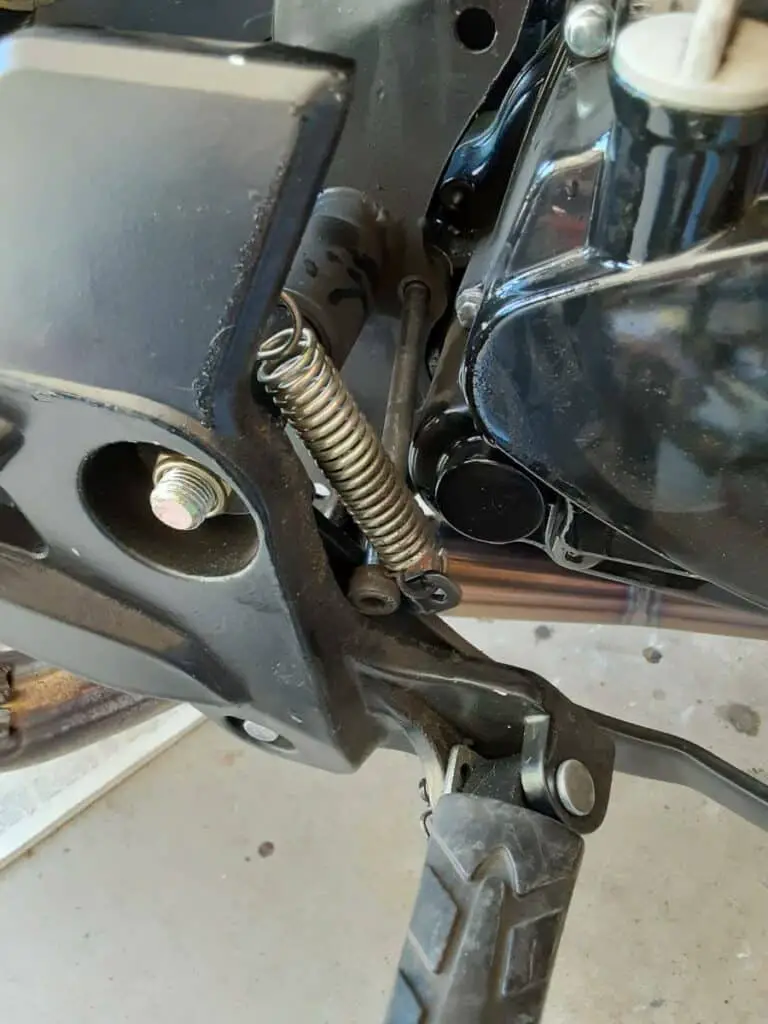
So, for reliability, you can replace the stock engine mount bolts with ones of better material, which you can find in big box hardware stores.
Here is what I did: Replaced Boom Vader Motor Mount Bolts!
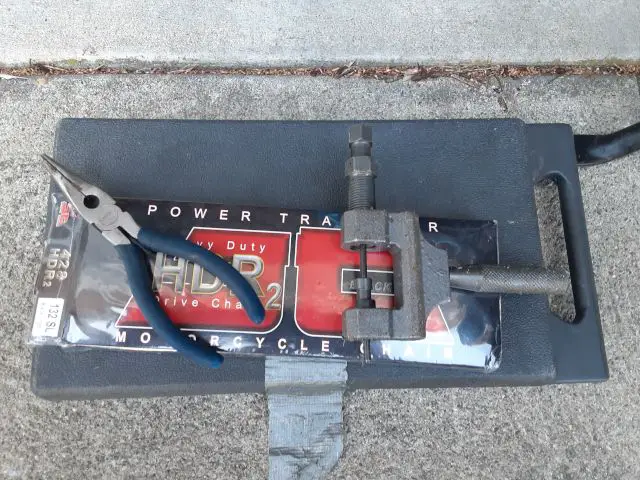
Boom Vader Reliability Upgrade #3: New Motorcycle Chain.
After the break-in period, I upgraded the little Grom-Clone’s engine performance. I found many stories of the stock chain breaking and leaving riders not only standard but engine parts are broken from the snapped chain.
I’ve never heard anyone get hurt directly from the chain, but I feel there is potential with that much metal flailing around so close to the left leg.
Since the stock chain’s integrity is questionable( Stock Boom Vader Chain Good or Bad? ), replacing the motorcycle chain is best. It’s a cheap upgrade, and you can pick an o-ring-less chain as I did and get as much power to the back tire as possible.
Here is what I did: Boom Vader Motorcycle Chain Replacement Instructions.
Boom Vader Reliability Upgrade #4: New Carburetor.
Truthfully, I learned how unreliable the stock carburetor is when upgrading the Boom Vader’s carburetor for performance.
As I was pulling off the old stock carb, I noticed stains that showed gasoline leakage around the seam, separating the bowl from the body.
Why does the motorcycle carb leak? Well, only two screws hold the bowl on, and both have no slots to tighten them if they become loose.
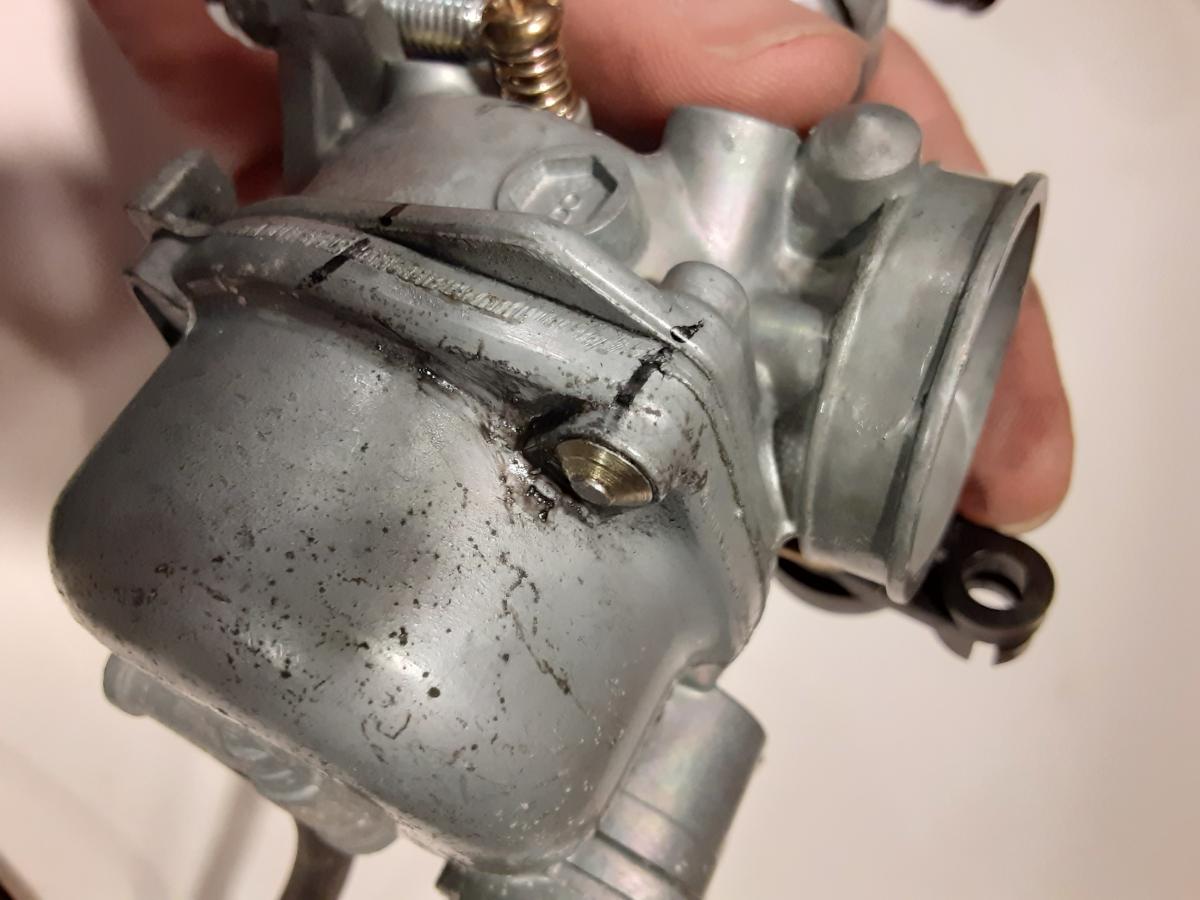
As I pointed out in the Why Is Gas Leaking From The Carburetor (Boom Vader Motorcycle) post, fasteners tend to become loose, needing thread locker and tightening, but the blank stock carb fuel bowl screws don’t allow for this.
Here is what I did: Boom Vader Carb Upgrade.
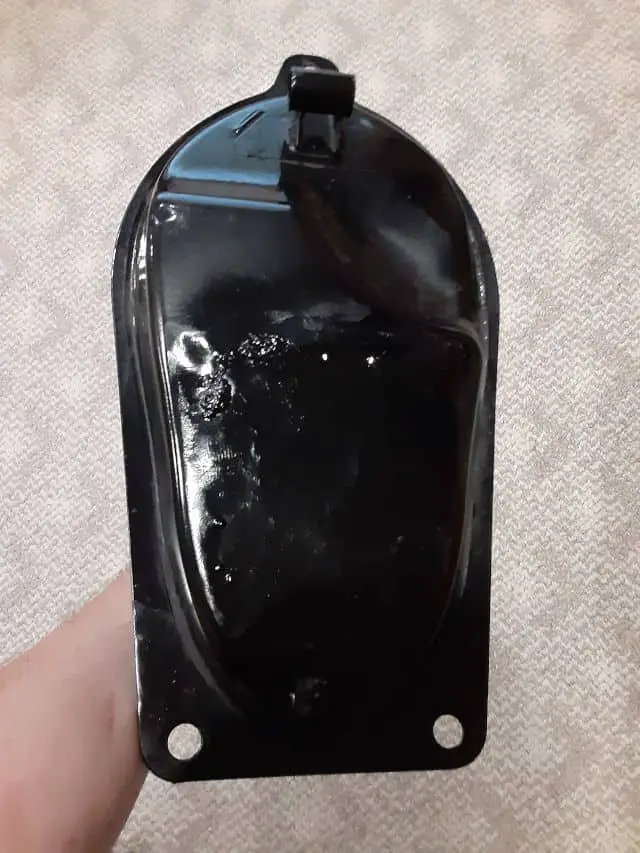
Boom Vader Reliability Upgrade #5: Seal Gas Tank Against Leaks.
Again, I missed this advice when I became a Boom Vader owner.
Grom clone gas tanks have spot welds that fail. Before their failure, I heard if you use an excellent motorcycle gas tank sealant, you avoid invertible gasoline leaks.
If you wait and start getting a motorcycle gas tank leak( Boom Vader Gas Tank Gasket ISN’T Leaking ), you can take the gas tank to a radiator shop and get the gas tank broken spot welds soldered closed.
Well, I didn’t seal my tank even though it had rust visible day one( Boom Vader Assembly Problems & Concerns ), and I didn’t have the patience for chasing after leaks with trips to a radiator shop, so I got my leaking motorcycle tank welded closed.
I lost the opening where my gas tank level float sat. So now I have no fuel gauge.
So do as I say, not as I do, with a new gas tank, seal it, and avoid the problems.
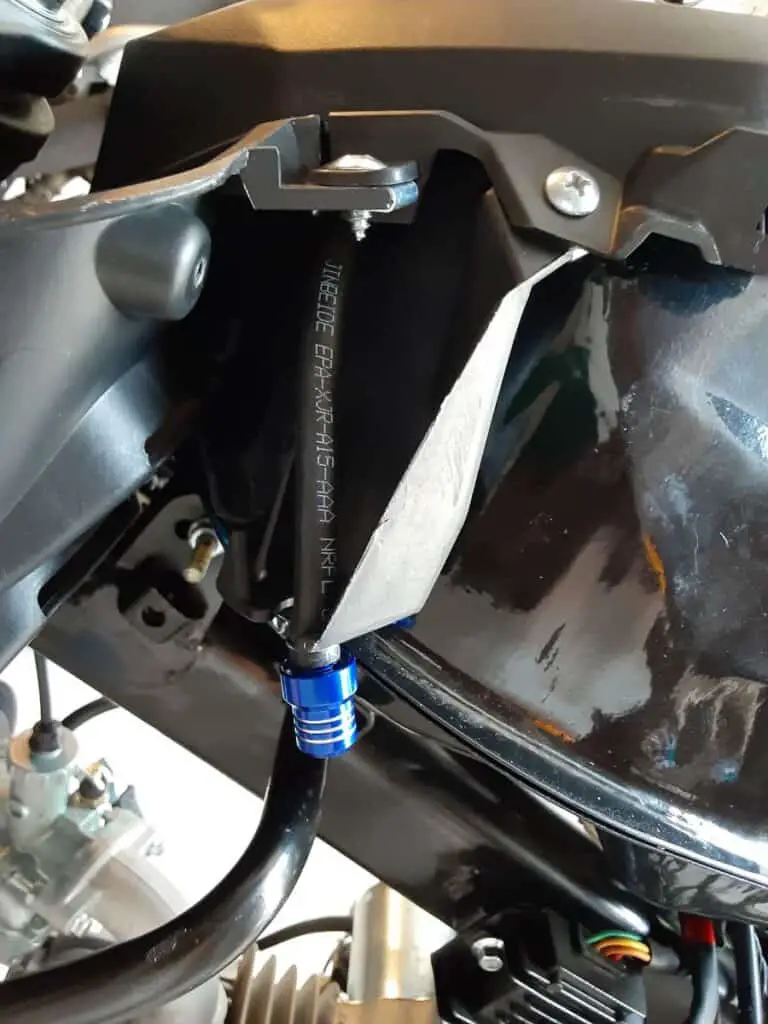
Boom Vader Reliability Upgrade #6: Add A Gas Tank Vent.
Now this was an accidental reliability upgrade.
I had symptoms that people keep calling ‘vapor lock’ but aren’t ‘vapor lock.’ The signs were engine cutting out after riding for a while and at higher speeds. My findings: Boom Vader Vapor Lock?
The motorcycle gas tank vent system might have problems caused by a tip valve.
I removed much of the tubing when I did my carburetor upgrades since the upgrade didn’t have places to run the stock tubing.
As a result, I added a one-way vent valve cap to my motorcycle gas tank, and now I do not draw a vacuum on the gas tank, and I don’t have engine stalling issues while riding.
What I did during my Boom Vader Carburetor Upgrade.
Is The Boom Reliability Vader Motorcycle Reliable?
I am into my second year of ownership and hard riding with my little 125cc Boom Vader Motorcycle.
I’ve had stall issues, which I covered here: and one broken engine mount bolt( Broke A Motorcycle Motor Mount Bolt ), but this little bike has kept me riding.
Even when I broke the engine mount bolt, I got home.
When I messed up the Boom Vader 125cc exhaust upgrade( Boom Vader 125 Exhaust Upgrade Bloopers ), I got home.
When I overlooked the ‘vapor lock’ issue, I got home.
So far, the Boom Vader motorcycle has been very reliable for me, even though I still need to follow the reliability upgrade advice I listed above.
That will do, Boom Vader, that will do.
Ride Safe, Ride Fun!
Click To See My Recommended
Boom Vader Gen 2 Upgrades

Hi I’m Tom, A New Motorcycle Rider and Blog Author.
I am a new rider(Pa Learners Permit at the end of 2020, and I received a Pa Motorcycle License in 2021 after passing a Motorcycle Safety Course).
I bought my first motorcycle, a TaoTao TBR7, at the beginning of 2021 and have been doing upgrades on that motorcycle since.
I added to my motorcycle collection by buying a Boom Vader Gen 2 in 2022, and that Grom-Clone motorcycle has been upgraded by me as well.
I continue to ride my Boom Vader Gen 2 motorcycle as well as my TaoTao TBR7 dual-sport bike.
Read more on my About Me page.
Fun Fact: I’ve only been on one group ride.
